Table of Contents
Edit table layout
Description
Adapt the layout of the overview table of your individual evaluation to your requirements. Edit, save, open and delete custom layouts.
The overview table is formatted separately for each IAP evaluation area.
Edit layout
Sort records
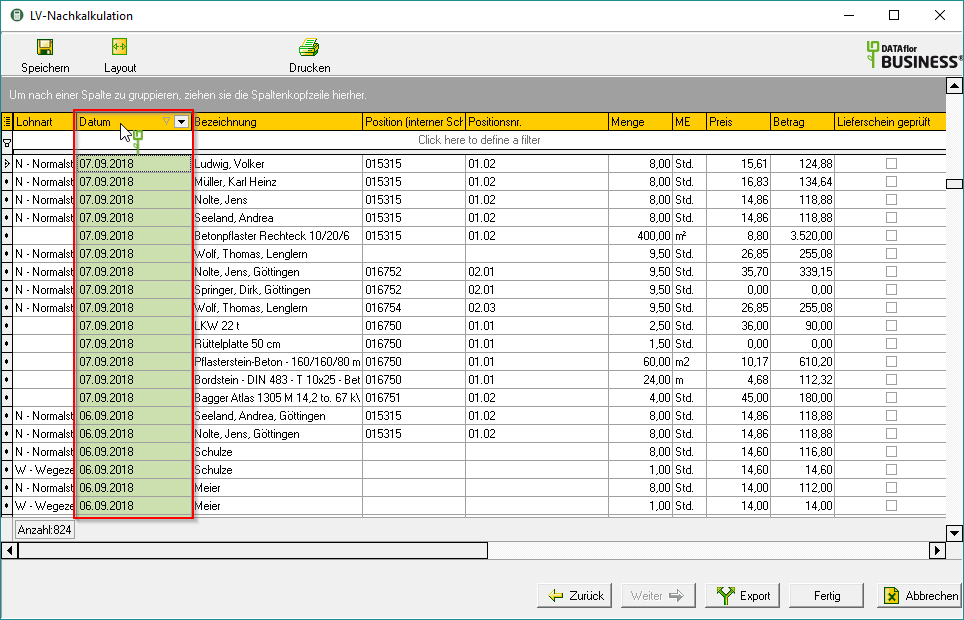
By clicking on a column header in the table, the data records are sorted alphabetically or numerically in ascending order  or descending
  sorted.
For example: The records are displayed in descending order by date.
Column selection
To add or remove columns from the overview table, click in the toolbar  .
.

The dialogue More columns will be opened. All columns that are currently not used in the overview table are listed.
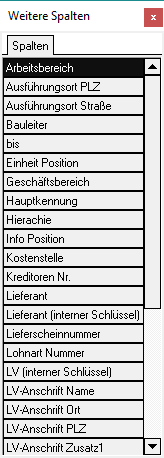
To display another column in the overview table, select in the dialog More columns the column and drag it with the mouse button pressed between the column headers of the columns between which you want to insert the column. Two green arrows indicate where the column can be inserted.
For example:
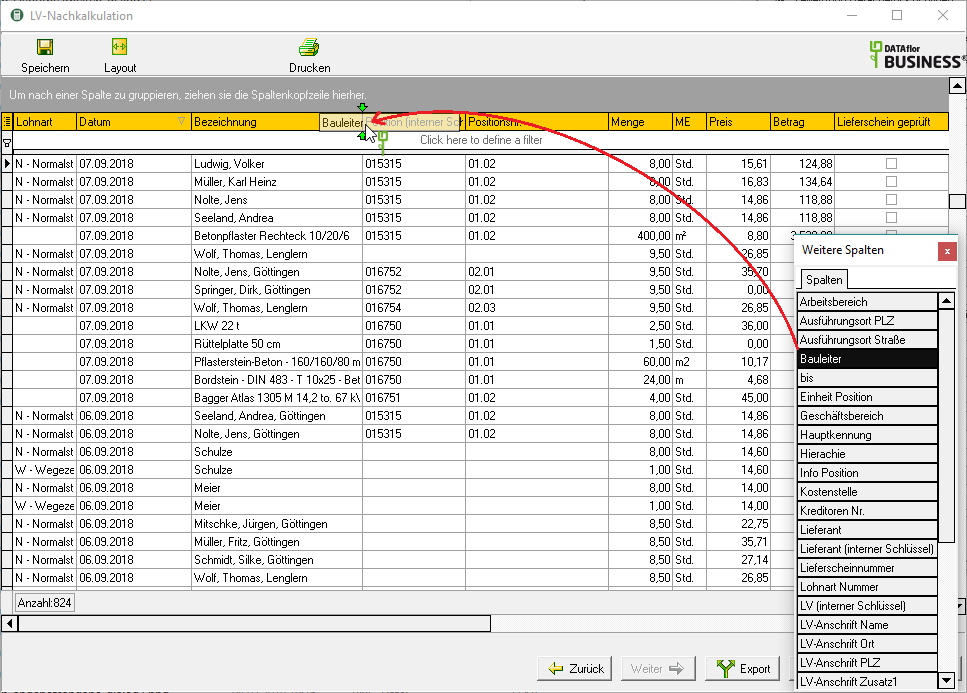
To remove a column from the table, click on the column header in the table and drag it into the dialog with the mouse button pressed More columns and release the mouse button.
The dialogue More columns close by clicking on  .
.
Column order
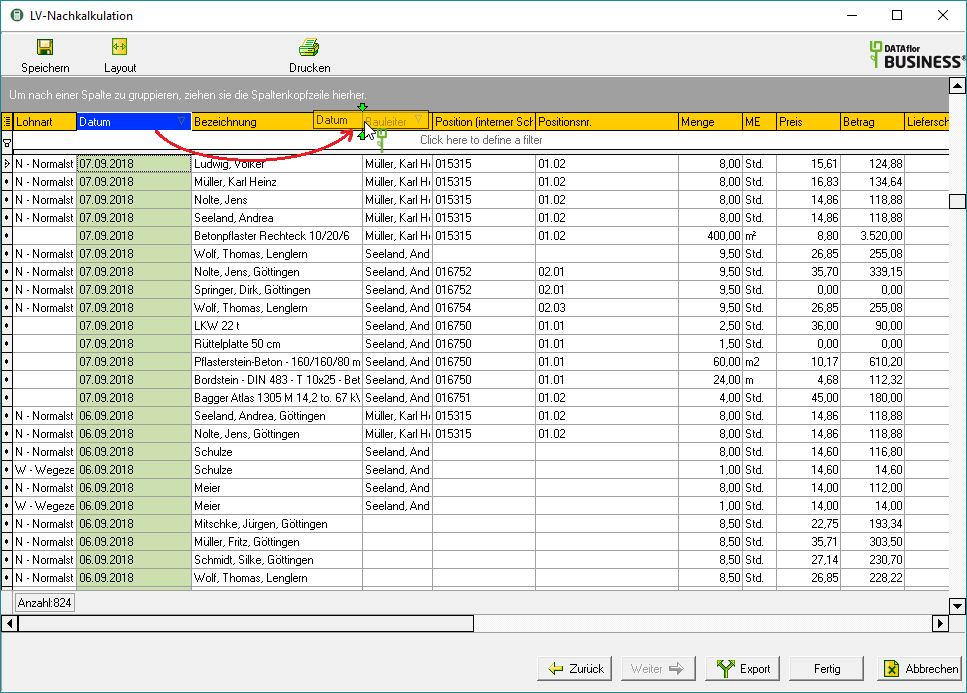
You can change the order of the displayed columns by clicking the column header of the column that you want to move and, with the mouse button pressed, drag the column header between the column headers of the columns between which you want to insert the column. Two green arrows indicate where the column can be inserted.
For example:
grouping
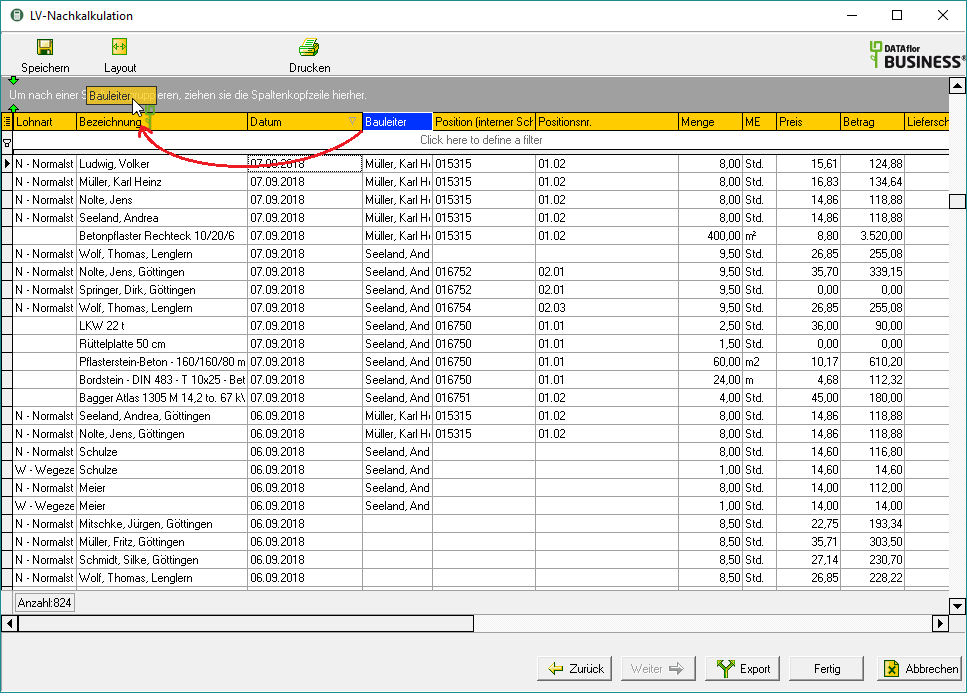
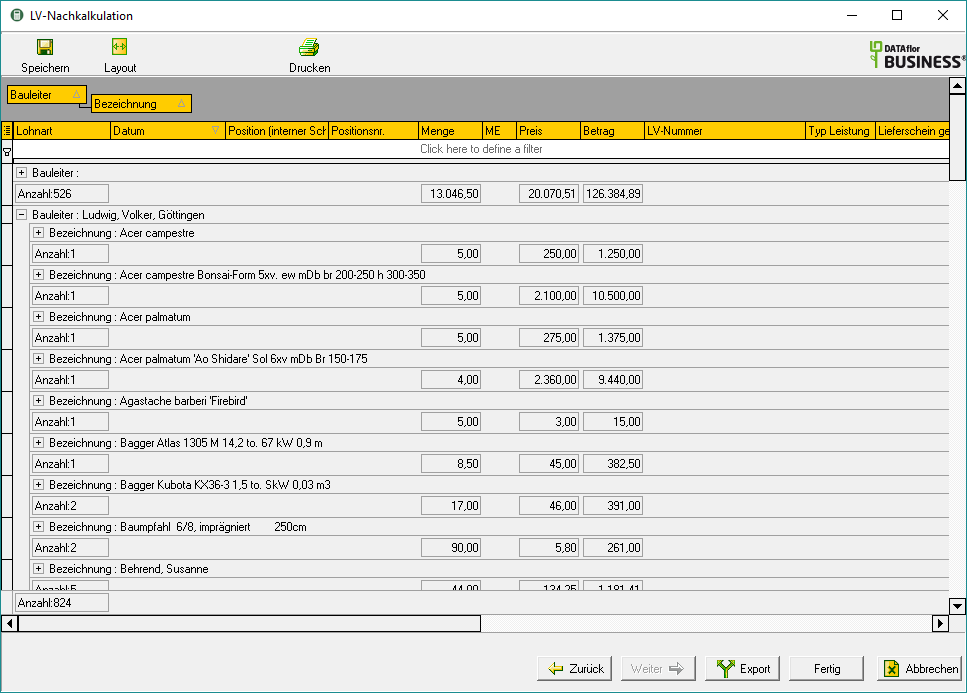
The displayed data records can be grouped according to the values in each column. Click on the column header by which you want to group and drag the column header with the mouse button pressed into the gray row above the table.
For example:
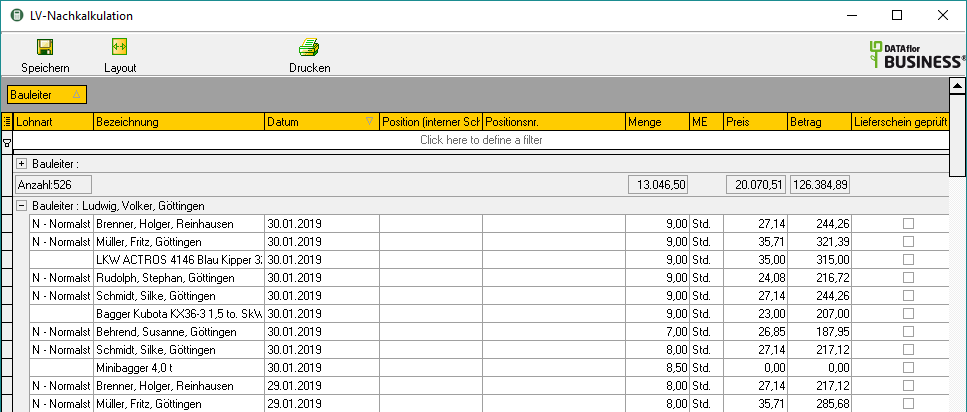
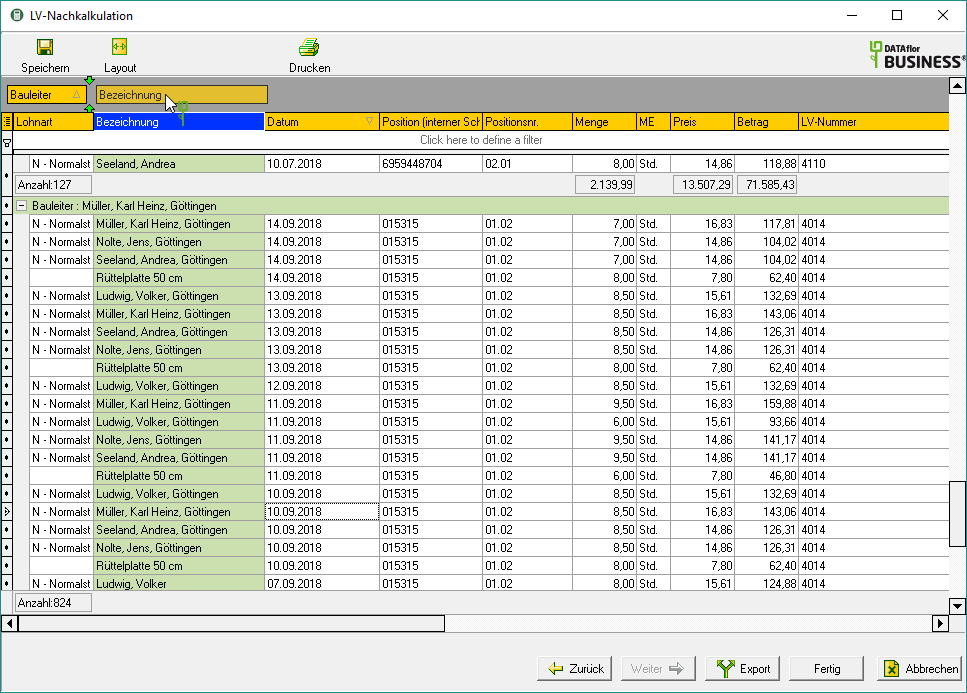
Multiple groupings are possible. To do this, drag the header of another column into the gray line above the table.
For example:
Save layout
Save a table layout that you have defined yourself so that the overview table can be displayed in the desired way the next time it is evaluated.
Click on in the toolbar  .
.

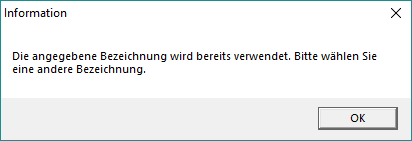
The dialogue Settings save is opened. Enter a name for your table layout and confirm with [OK].
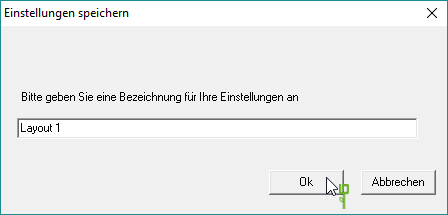
The table layout is now available to every user in the network.
Open layout
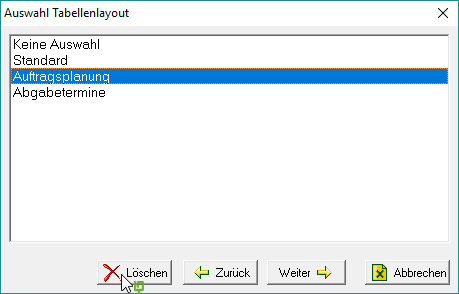
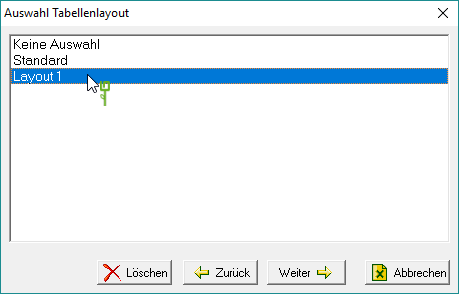
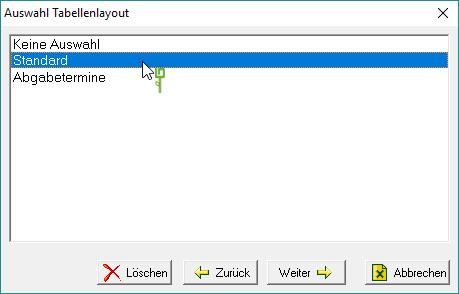
If you have already saved a table layout that you have defined yourself, the dialog opens after you have confirmed the selection settings for the evaluation Selection of table layout open. Select the layout you want and confirm with [Continue].
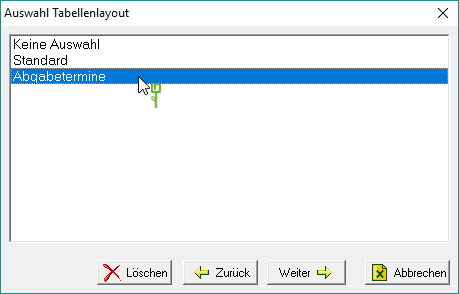
The overview table of the individual evaluation is displayed in the selected layout (Example: submitting an offer) shown.
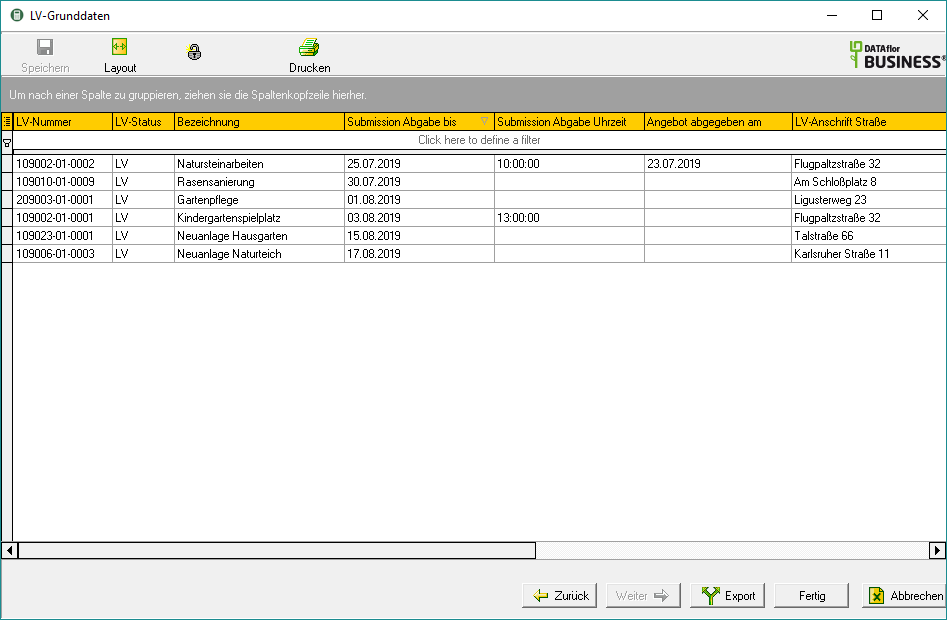
To restore the table to its default layout, first click [Back]. The dialogue Selection of table layout will open again. Choose the layout Standard and confirm with [Continue].

 cancel.

