Table of Contents
Create Project
Description
Open the menu BUSINESS and select the program call Projects.

Select the upper entry in the project tree Course administration and click in the menu  .
.

The quick search of the address manager is opened to select the customer. By entering a name, location, zip code, email or phone number in the search box and then start the search with Enter you will get a list with the applicable search results.

If the desired address is not yet available, first place the address using the button New address

A window opens in which you can quickly create a new address. A new, empty record is displayed.

Save your details by clicking on the button [Save and apply].
You set the number ranges and their schemes for automatic project numbering in the program parameters for the Project numbering firmly.
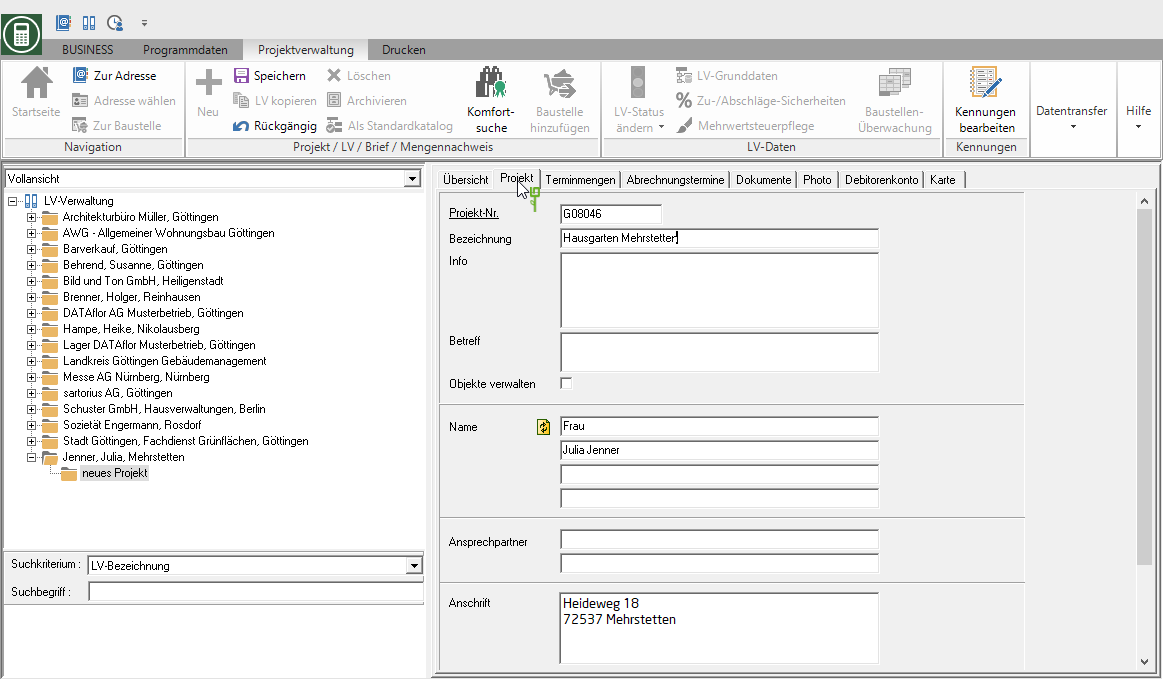
The new project is inserted below the client in the project tree. On the tab Projects general information about the project is stored and displayed.

| Feld | Description |
|---|---|
| Project no. | This number is obtained using the automatic project numbering Specified by the program when creating the project and can be changed manually at this point. |
| designation | Enter a unique name for the project. |
| Info | In this field you enter further important information about the project. In info or text fields you are entitled to Editor with which you can change fonts and sizes. Furthermore, texts can be loaded from files and saved in BUSINESS created texts can be saved as files. |
| Manage objects | Activate the option  to create and manage objects for the project. If the option is not activated to create and manage objects for the project. If the option is not activated  , the hierarchy level does not apply Object. , the hierarchy level does not apply Object. |
| Salutation, name, address | The client's data are automatically adopted. By clicking  the data with the address data of the client in Address manager compared and updated if necessary. the data with the address data of the client in Address manager compared and updated if necessary. |
| Contact Person | By clicking  Open a list of all the contacts that you have entered for the customer in the address manager. Select the contact person you want. Open a list of all the contacts that you have entered for the customer in the address manager. Select the contact person you want. |
| Feature | The name and position of the contact person are automatically added to the address of the client. The name of the contact person is transferred to the 1st line and can be changed if necessary. The name entered here is printed in the address field of project letters. The position of the contact person is transferred to the 2nd line. It is for information only and will not be printed. |
| Phone | The telephone number assigned to the selected contact person in Address manager is deposited. By clicking  pass out BUSINESS out the phone or cell phone number directly to the Telephony. pass out BUSINESS out the phone or cell phone number directly to the Telephony. |
| Fax | The fax number assigned to the selected contact person in Address manager is deposited. |
The e-mail address assigned to the selected contact person in Address manager is deposited. By clicking  a new e-mail is created with your standard e-mail program. The e-mail address entered here will be transferred to the new e-mail. a new e-mail is created with your standard e-mail program. The e-mail address entered here will be transferred to the new e-mail.Emails sent this way will not be included in the DATAflor Building file taken over. |
Further project addresses
In addition to the project address that you specify in the project data, you can add further project addresses to a project. This is then available as the 1st and 2nd address for LV printouts.
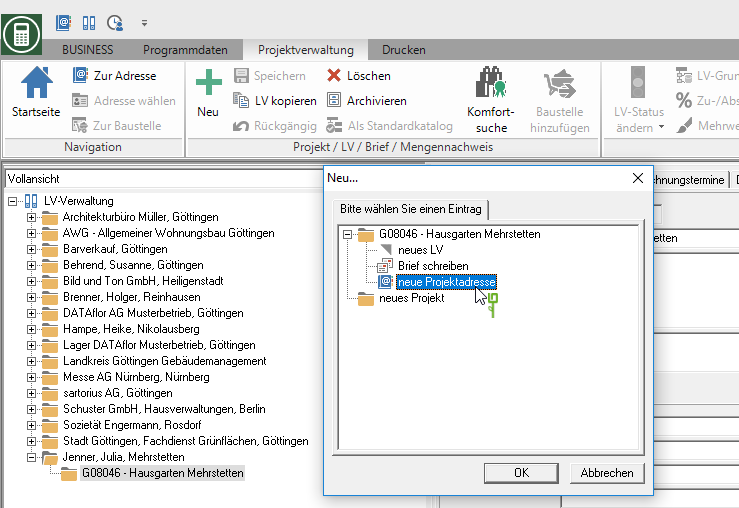
Select the project in the project tree and click on  in the menu or open the context menu with the right mouse button and select the entry New… Then select the entry in the dialog new project address and confirm with [OK].

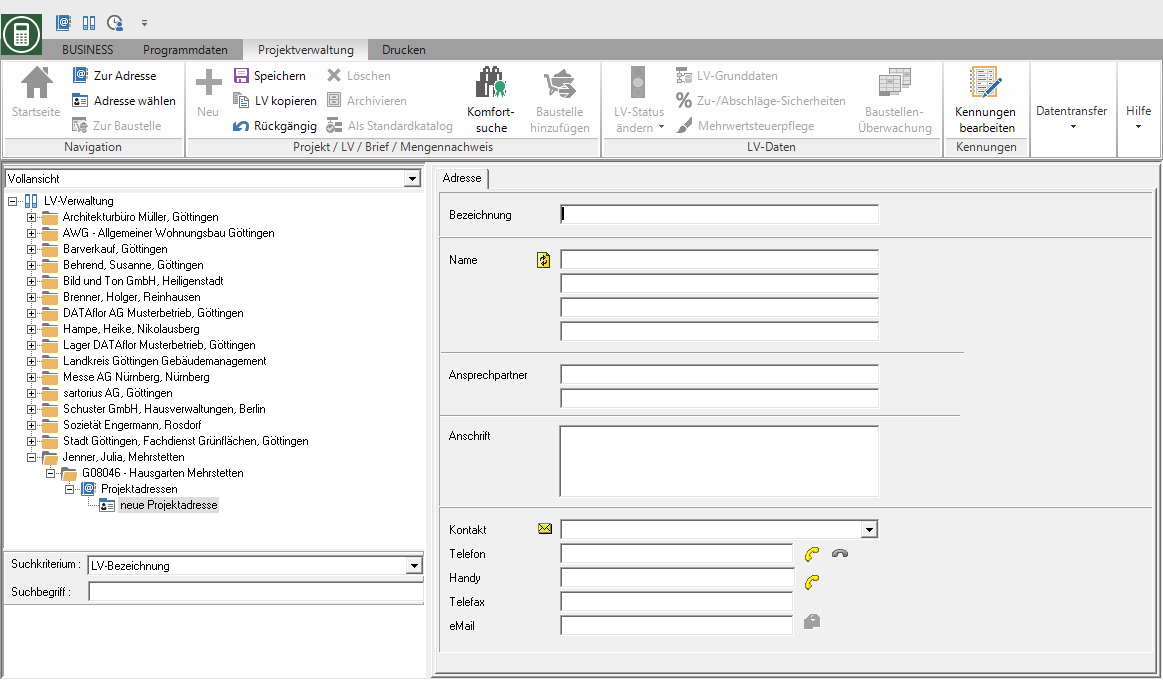
The new project address is displayed in the project tree below the project. Enter the details for the new project address as in the project data.

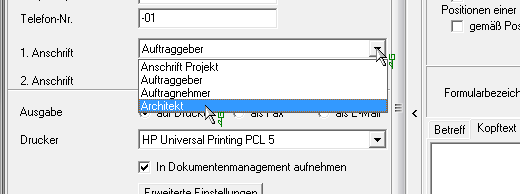
Furthermore, the project address is in the print menu of the LV printouts and for Invoice / credit available for selection as 1st and 2nd address.

