Table of Contents
Print delivery note for stock removal
Description
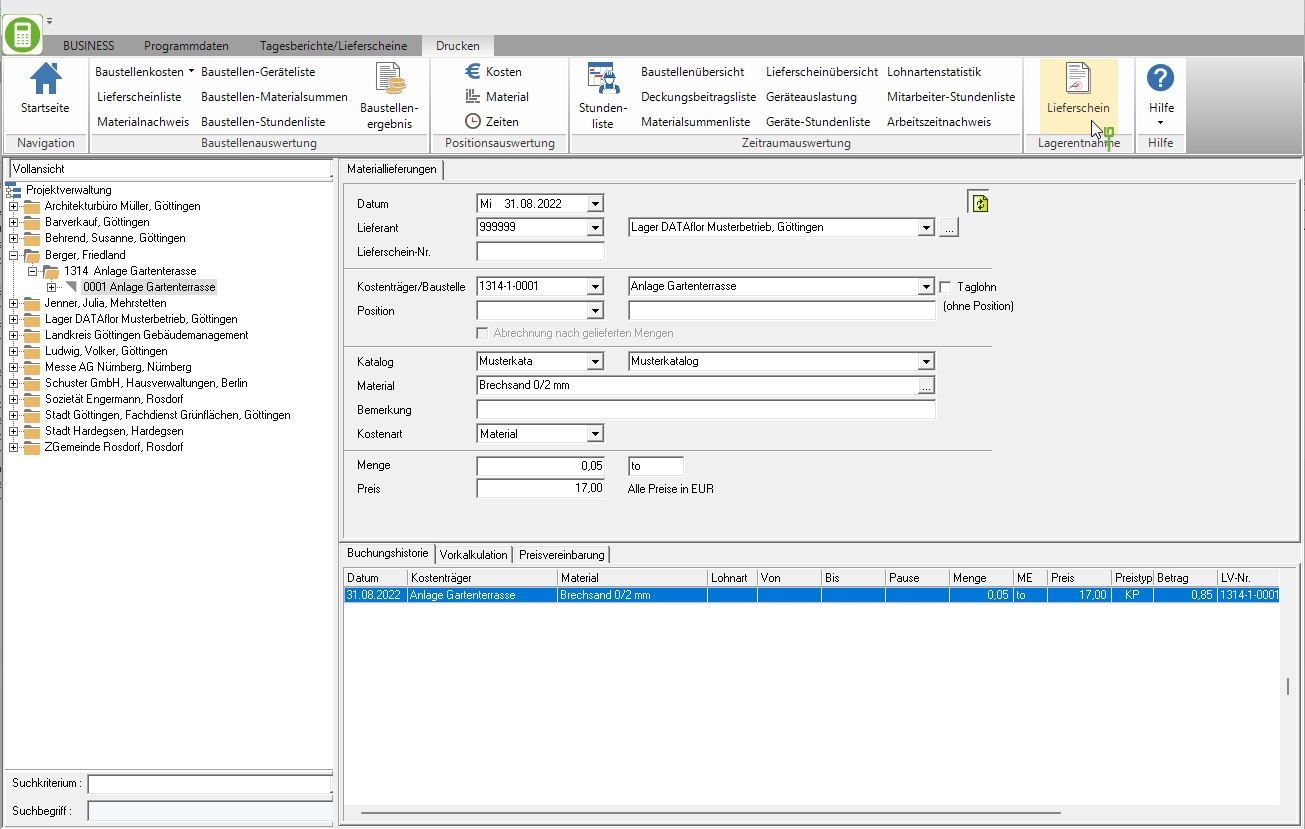
For material and plant deliveries that you get from your Warehouse you can see the printout Delivery note warehouse removal Print as a receipt for the recipient of the delivery. The printout can be made for a single delivered article as well as for several articles of a period.
Application
Highlight in the Booking history the post calculation the material or plant posting for which you want to print the delivery note. Then open the menu Print and click on  .
.

The print management is opened.

The print management is used for all printouts of the form groups with the addition "(Fast)". The following functions of print management are the same for all forms and are described on the linked wiki pages. You can find a compilation of all print management functions on the wiki page Print management.
| Area | Brief Insight |
|---|---|
| Print settings | - Select printer / paper trays for printing - Define the e-mail address for sending as e-mail - Separate settings possible for each copy and for the construction file |
| Print variant (letterhead) | - Selection of the print variant (letterhead) - Separate selection possible for each copy and for the construction file |
| Pressure profile | - Load individual compilation of the selection of the output type, the print settings and the print variant - Several copies can be predefined with different settings if necessary |
| My favorites | - compact view of the Form settingsthat are always needed |
| Form profile | - Load individual pre-assignment of the form settings |
| Print preview menu | - Description of all functions in the menu print preview at a glance - e.g. test print, construction file |
| general settings | - to adapt the print layout |
Which form settings are available depends on the form for which print management is open.
Form settings
Open the settings area by activating the button Form settings.

A selection of the form settings that you would like to adjust / check for each output can be made individually for the area My favorites put together.
The following form settings are available:
Form name
- Enter the designation used for the delivery note. The entered text is displayed in the title.
Document date
- The program automatically pre-populates all date fields with the system date. This can be changed manually at any time.
- By clicking
 a calendar opens, making it easier to select dates.
1. Address / 2. Address
- Select the addresses for the form.
- For 1. Address is by default Clients preset, for 2. Address .
- The addresses become the LV on the Addresses tab entered.
- You can join a project further project addresses which are then displayed for selection in the list field.
Contact Person - Operator sign, Contact Person, Telefon-Nr.
- In the selection Contact Person select whether the data of the logged in user or the salesperson who is assigned to the LV are preset.
- According to the selection Contact Person are in the fields Operator sign, Contact Person and Telefon-Nr. the data entered for the employee in the user data are deposited.
Information block
- The data is displayed that the form has additional fields in the Pressure variant are added (e.g. customer, LV no.).
Header text / Footer text
- The entered texts are output at the corresponding positions in the form.
- The functions of the Text editing and Text variablesthat are automatically filled by the program.
- The standard pre-assignment of the form settings is in the form profile Standard Are defined.
- You can create your own for the individual pre-assignment of the settings and texts Form profiles define.
- If you would like to work with several form profiles, you can also specify which form profile is preset by default.
general settings
You also have the following options for designing your delivery notes Program parameters to disposal:
