Table of Contents
Features
Description
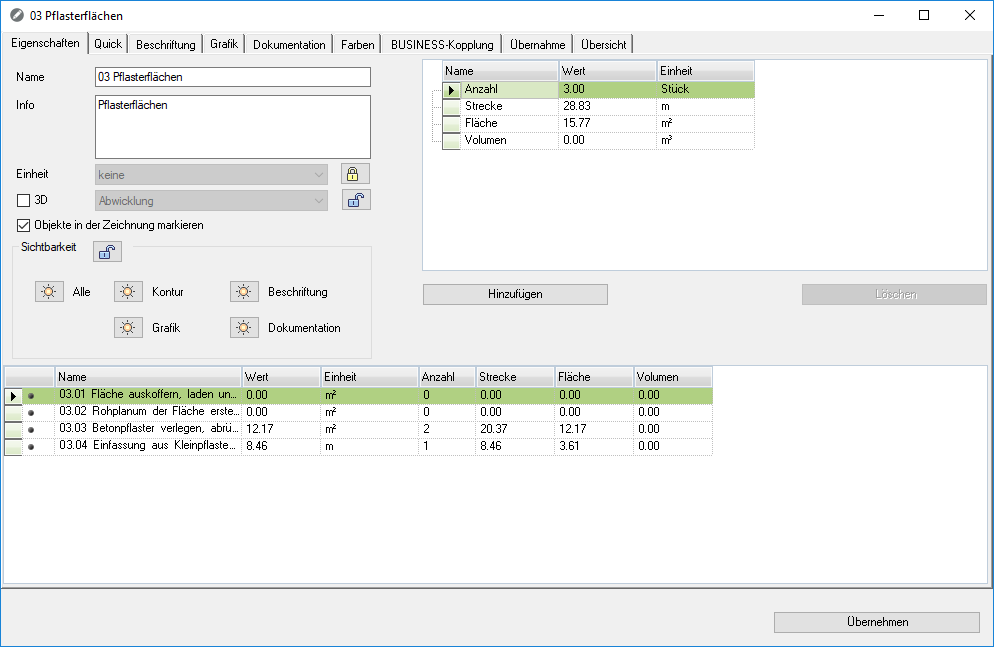
In the tab Features detailed properties of the object (or group) selected in the mass tree are displayed. In the fields Name and Info the name and description of the object can be changed manually.
Features
Inside the option unity the unit can be adapted for all subordinate objects and groups. The change is inherited by all objects or groups, their unit not Is blocked.
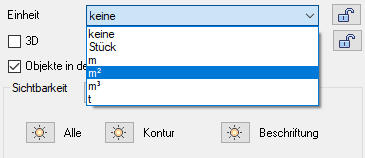
To the option unity To lock, click the icon ![]() , then the option is blocked
, then the option is blocked ![]() and is not adjusted automatically. You can find an overview of all settings relating to locks in the tab Adoption.
and is not adjusted automatically. You can find an overview of all settings relating to locks in the tab Adoption.
The option 3D enables the recorded objects to be used in processing at any time. Changes in height of the objects (e.g. with the command Edit the course of the line) have a direct effect on the derived properties. But also the development of the object on a surface (see triangulation) is possible. For more information, see the topic 3D-Objekte.
For groups and objects within a position coupling, the unit cannot be adjusted here. To LV processing within the position table switch to the tab BUSINESS-Coupling.
Is the option Mark objects in the drawing activated, the objects that are located below the selected mass tree structure are also marked in the drawing. Since this can lead to delays when working with the quick masses, especially at higher levels or with many objects, the option can be deactivated here. This property relates to the object marked in the mass tree and is not inherited. It is advantageous to apply the option to the group All. This means that calling up the quick dimensions can be significantly accelerated, especially for large drawings.
In the area visibility you can conveniently control the visibility of objects that are created using the Quick-Masses were created in the drawing. Like all properties in the Quick-Masses This setting affects all objects and groups that are below the selected group or objects.
Here the visibility of contour, Schedule, Label and Documentation individually or together over All Taxes. All created and visible properties can be switched invisible in the drawing without having to freeze the layer or remove the properties.
| Symbol | feature | Description |
|---|---|---|
| Make property visible | Here only the activated properties are made visible if they were previously made invisible. | |
| Make property invisible | Here only the activated properties are switched invisible. | |
| Lock visibility | You can lock the visibility settings for all properties so that they are not accidentally changed, e.g. through inherited properties from a higher-level hierarchy. To lock the visibility, click the icon |
Practical example
- You create a complex drawing in which you want to document all areas graphically. However, only 1 area should be graphically documented per plan (e.g. construction phase 1).
- Outline that Mass tree after different construction phases e.g. construction phase 1.
- Highlight the group All and set in the field visibility the switch for All on invisible
 and [Take over] The setting.
 - Now select the group with the construction phase that is to be output as a plan and place it in the area visibility the option Documentation on visible
 and [Take over] The setting.
 - The documentation is only for objects within the group Construction phase 1 switched to visible.
If contour derivations are often used, these should be switched invisible at the top level. This makes it easier to select adjacent objects because the contour derivations are not displayed.
Properties table
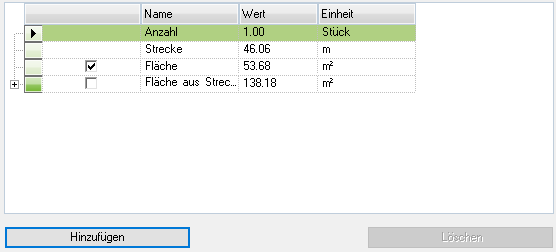
The properties of the objects are displayed in the properties table at the top right. In addition to the properties that are derived from the object during acquisition (usually number, distance, area and volume), [Add] own or predefined formulas can be inserted. The results of a formula calculation are saved as attributes for the object.
About [Add] these options are available:
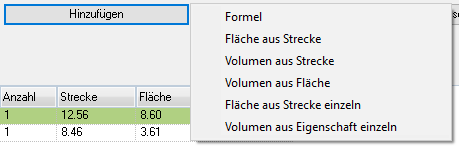
The Creating and managing new formulas is explained in the following chapter: Add attribute.
Information on using the predefined formulas can be found here: Area from route, Volume from distance, Volume from area.
Even if these formulas are assigned at group or position level, the property is created for the object. The strength can be adjusted for all objects at the same time on the upper level or for each individual object. The value at group or position level remains 0.
The options Area from route individually and Volume from property individually are available at the group or position level as soon as one or more objects for the group or position have been recorded. After calling the option, for each object Height and / or Width queried.

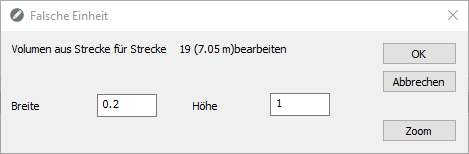
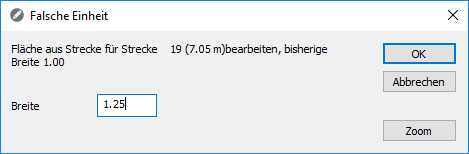
If these formulas are used, the properties are only created for the objects not at group or position level.
If there is more than one property with the corresponding unit of measure, you can select which of the two quantities is to be transferred for the object. If the box is deactivated, there is no transfer.
Object table
In the lower area you will find a clear summary of the properties of groups or individual objects in table form.

Furthermore, groups and objects (multiple selection possible) can be quickly moved or copied from here using drag & drop into the mass tree on the left-hand side (with the Ctrl-Button).
If objects are deleted in the table, they are also removed from the mass tree.