Table of Contents
Filing the document
Description
In the DATAflor Construction files can be used to import, scan and e-mails existing documents.
For storage in the DATAflor Any files can be selected and text, tables, graphics, CAD or photo files can be saved. It is even possible to store databases (Access or other).
When you open the imported document via the right mouse button or via the menu ![]() to open, the program uses the set file type to select the software with which the document is opened for editing.
to open, the program uses the set file type to select the software with which the document is opened for editing.
Import documents
Documents that are available as external files can be accessed via the dialog to open selected or by Drag and drop in the DATAflor Building files can be imported.
Any files you put in the DATAflor Import construction files are used for administration purposes away from the place of origin, in the directory of your Construction file added and renamed. This means that all the documents in your construction files are bundled in one place and the risk of something being accidentally deleted is reduced.
Import file
- On the Documents menu, click
 .
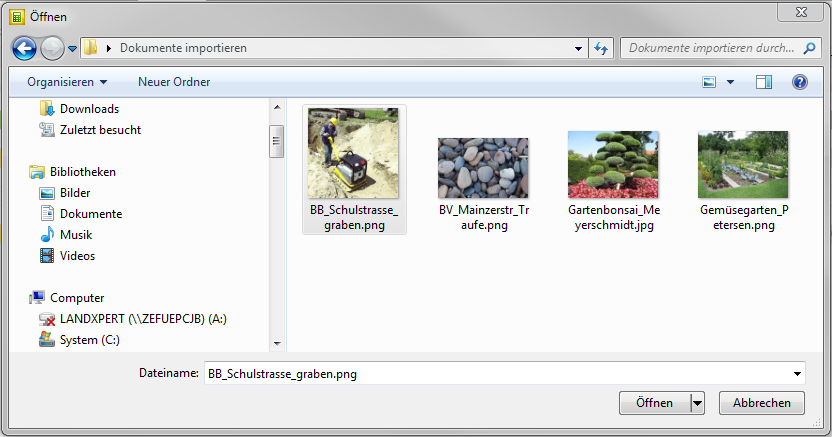
. - The Windows file selection dialog opens. Select the desired file or with Ctrl or Shift several files and confirm with [To open].
- The dialogue Create document will be opened. Deposit the Document information of the imported document (s).
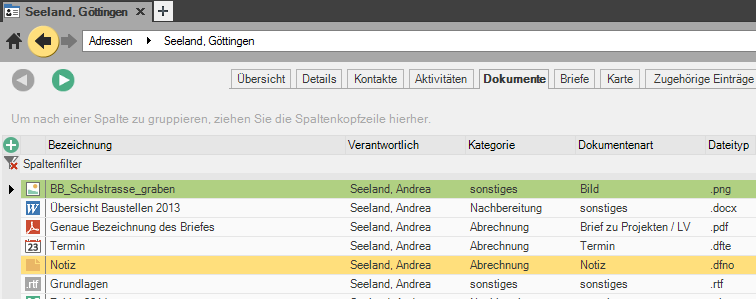
- Confirm your entries with [OK]. The document is on the tab Documents for the selected entry.
Import the file using drag & drop
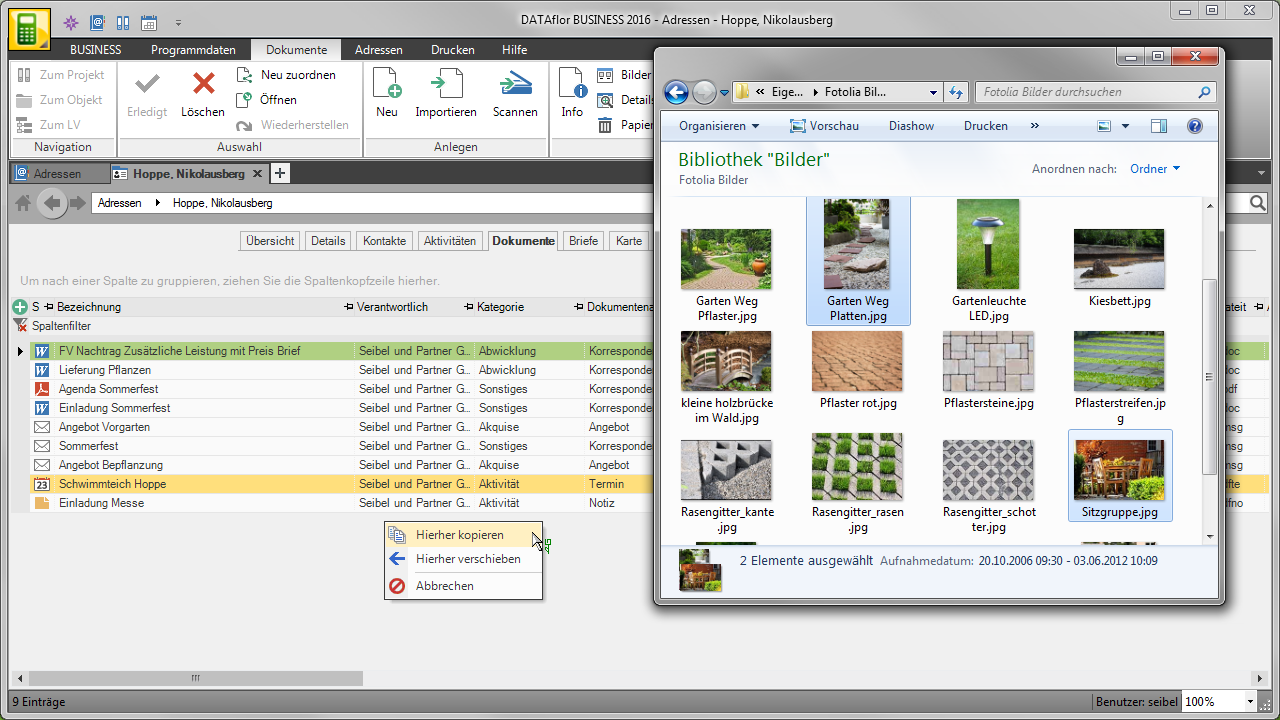
- Select the file in Windows Explorer or on the desktop (or via Ctrl or Shift multiple files) that you want to adopt. Hold down the mouse button and drag it to the tab Documents and release the mouse button (drop).
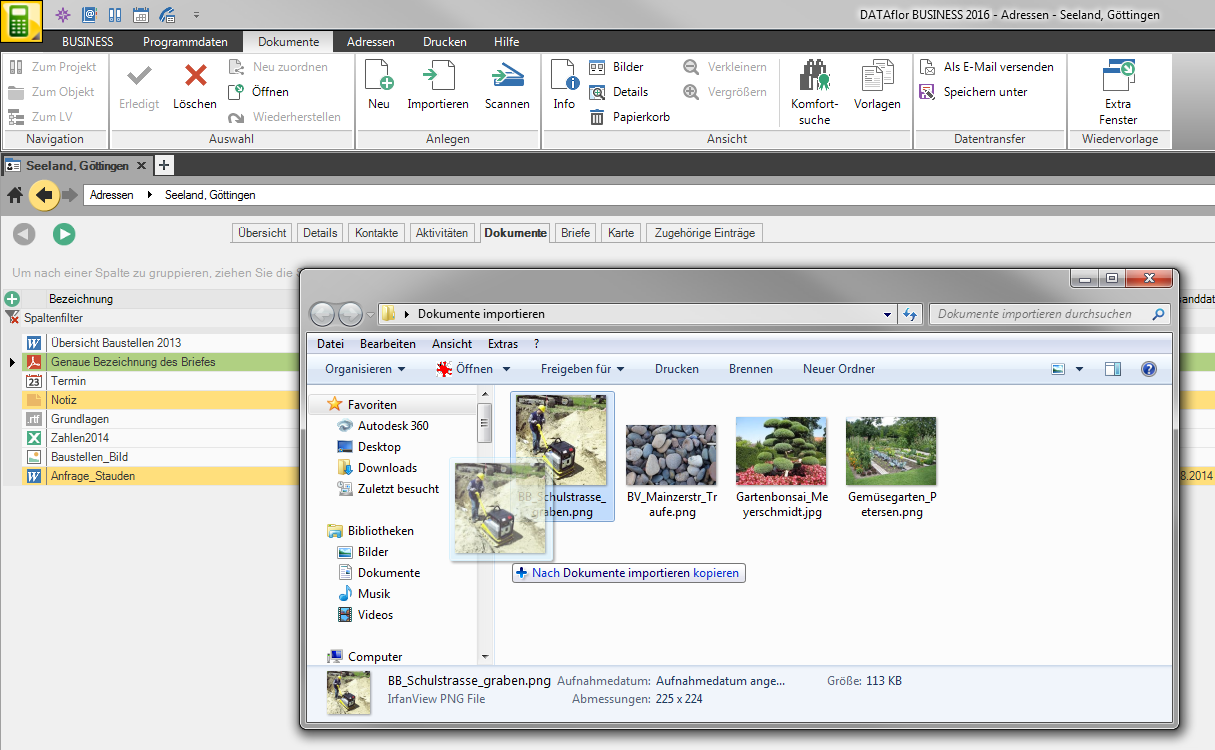
If you use the right mouse button for drag & drop, a selection appears whether you want to move or copy the files.
- The dialogue Create document will be opened. Deposit the Document information of the imported document (s).
- Confirm your entries with [OK]. The document is on the tab Documents for the selected entry.


Scan documents
With this function, paper documents can be sent directly to the DATAflor Building files are included.
- First open the desired program area (e.g. address manager or project management) and then the address or the LV to which you want to add the document.
- Then select the tab Documents and click in the menu Documents> Create> Scan
 .
. - The window Scan documents will be opened.
- In the area Options make the settings for the scanning process.
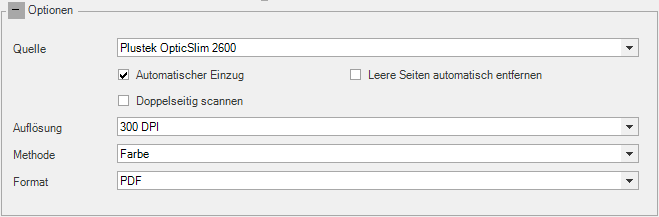
If several scanners are connected to your computer, select under Which the desired device.
Choose the Resolution, Method and Format the file to be created.
At a 300 DPI resolution produces a file with good A4 print quality and an acceptable file size.
Will be automatic on your scanner Front and back side scanned, you have several options Pages zu remove:
- Activate the option Automatically remove blank pagesto delete blank pages as you scan.
- Or you can select the function after the scan process [Remove blank pages]
- Or you can select the page or several pages with in the left area Ctrl and press the button Del.
- Start the scanning process by clicking [To scan].
If the document consists of several pages, you can choose the file type PDF scan one after the other so that only one PDFFile is created. After scanning the first page, place the next page on the scanner and click [Scan another page].
The PDF file can also be viewed using Windows Explorer Add pictures. To do this, drag and drop the file (bmp,png,jpg,tif) from the Windows Explorer window into the scanner dialog.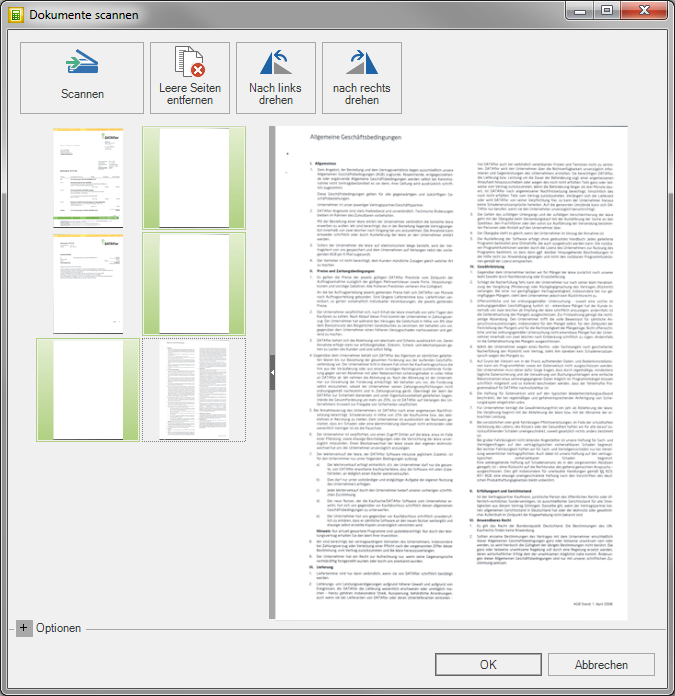
To the sequence the sides too change, drag a page to the new position with the left mouse button pressed.
- After you have scanned all the desired pages, confirm the scanned pages with [OK] and deposit the Document information of the imported document.


Accept emails
Drag and drop
The easiest way to transfer received or sent e-mails to the DATAflor Construction file by completing the email (or multiple emails with Ctrl or Shift) in Outlook and drag and drop onto the tab Documents pull.
Then the dialog Create document displayed in which you have the Document information can specify. The subject of the email is automatically saved as designation accepted. It can be any Shipping method, here makes sense Inbox or Outbox, to get voted.
In addition, the Shipping date, Sender's name and email address are displayed.
The measured values can be transferred to a PC via the Search and based on Groups and Filter you can quickly find stored emails.
Like e-mails, the Attachments an email directly in the DATAflor File the building file. To do this, simply select the attachments in the email and drag and drop them onto the tab Documents pull.

DATAflor Outlook add-ins
With the help of DATAflor Outlook add-ins You can received and own emails to be sent in the DATAflor Take over construction file.
- For Microsoft Outlook 2003 and 2007, registration is first carried out for the local computer when installing or updating BUSINESSif Outlook is installed. The add-in is then automatically registered for the logged-in Windows user as soon as in BUSINESS a user is logged in who access to DATAflor Construction file (please refer Basic settings) Has.
- For Microsoft Office 2010 and 2013, the Outlook add-in is installed automatically if the BUSINESS a user is logged in who access to DATAflor Construction file Has. A connection to the Internet is required for installation.
The DATAflor Outlook add-in is not released for Outlook 64bit versions.
First start BUSINESS and Outlook.
In order to received email , select in Outlook in your Inbox the received email that you put in the DATAflor Want to record building files and open the menu Add-Ins.

In order to own email create a new e-mail in Outlook that you save in the DATAflor Want to record building files and open the menu Add-Ins.

The following functions are available:
| Send and entire mail content (.msg) own email only | The written e-mail is sent and at the same time including the file attachment and images contained in the e-mail in the DATAflor Construction file filed. |
| Send and message text only (.pdf) own email only | The written e-mail is sent and at the same time the message text is saved without any images or attachments in the DATAflor Building file taken over. |
| Entire mail content (.msg) | The message text, including the file attachment and images contained in the email, is saved in the DATAflor Construction file filed. |
| Message text only (.pdf) | Only the message body of the e-mail is saved as a PDF file in the DATAflor Building file taken over. |
| Plant only | Only the file attachment and images contained in the email are included in the DATAflor Integrated building file. |
Select the function you want. The following selection window opens.

Select via which program area you want to assign the document: to an address via the Address manager or to a project / object / LV via the Project management. Confirm your selection with [OK].
Assignment via the address manager
The address search opens.

Mark the desired address in the search result and click on [Take over].
The window Create document will be opened. Store the Document information of the imported document. Confirm your entries with [OK]. The document is on the tab Documents for the selected entry.

Assignment via the project management
The window for the course search opens.

Select the desired course in the search result and click on [Take over].
The window Create document will be opened. Store the Document information of the imported document. Confirm your entries with [OK]. The documents will be on the tab Documents for the selected entry.

All documents assigned in the project management are also saved in the Address manager to the address of the client and to the address of the logged in user.
Import CAD drawing
For every printed paper version of a CAD plan, you can download the plan status as a document in the DATAflor Record building file.
Save your CAD drawing for inclusion in the DATAflor Construction file discord as a DWF file. You can also download a final plan status for the end of the project as a ZIP file in the DATAflor File the building file.
The inclusion of a DWG file in the DATAflor Building file is not recommendablebecause the files are from their original location cut out and postponed will. However, inserted images and references are not moved with it. This then leads to incorrect representations.
Create DWF file
To create a DWF file, select the layout that you want to print in CAD, open the context menu with the right mouse button and select the entry plotting.

In the plot dialog, select from the list of plotter names DWF6 ePlot.pc3 out. This printer is set up by default with every CAD installation.

In the plot dialog click on [OK].

In the following dialog, set the location and filename firmly. Confirm your entry with [To save]. The file is plotted.

The DWF file is now saved. For inclusion in the DATAflor Please go to the building file as described in the chapter Import documents .
Create a ZIP file
Open the drawing in CAD and select the entry via the menu browser Publish> eTransmit.

If necessary, confirm a storage query with [OK]. The following dialog shows you all the contents of the drawing that can be exported. You do not need to make any further settings and can open the dialog with [OK] to confirm.

Choose the location and one filename and confirm the entry with [To save].

The zip file is now saved. For inclusion in the DATAflor Please go to the building file as described in the chapter Import documents .