Table of Contents
intersection
With the tool intersection  you can, for example, record overlay areas that are covered with more than one, only one or no information at all. There are several areas of application for this.
For example, you can check your dimensions in the implementation planning: In this way you can determine where a natural stone covering should be installed, but where you forgot to calculate the excavation underneath.
The intersection is created below the marked group in the mass tree. However, you can move the grading like any other object. For the sake of a better overview, you should create one or more separate groups for intersections.
Creation of intersections
The intersection can be done via the menu Crowds or with the right mouse button New> Intersection ... be called.
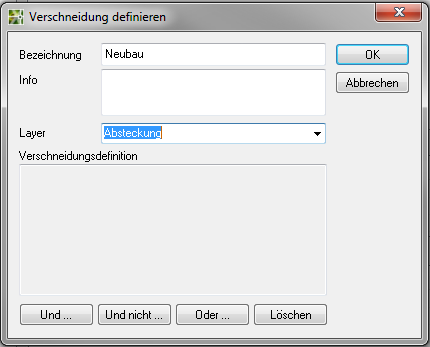
- After calling up the command, a dialog opens in which you name the intersection and specify a layer on which the intersection information is to be located. You can use the arrow to the right of the layer option to select a specific layer or enter a new name. This automatically creates a new layer with this name.
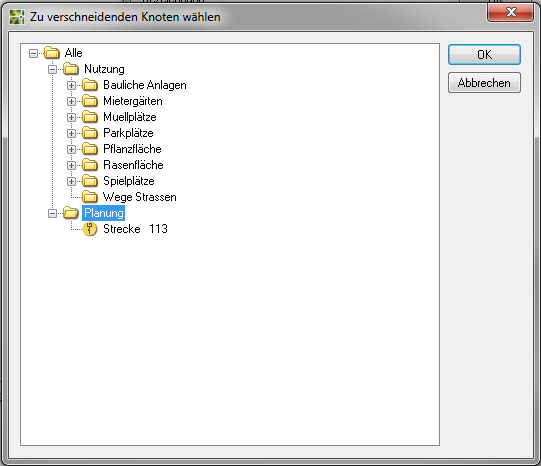
- Now select the type of intersection. You can always go over the first element [And…] insert. Another dialog opens in which you select the desired element by double-clicking it or by activating it and pressing [OK] to confirm. You can intersect all types of objects or groups.
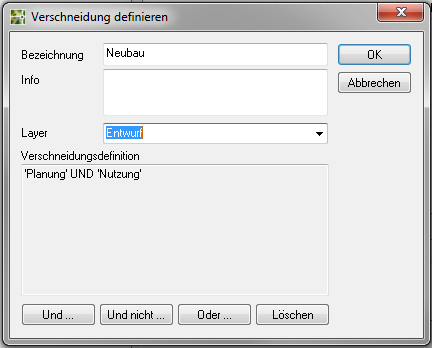
- Now select the next insert option and determine the element to be intersected as described above. The result is in the box Intersection definition written. The combination of the insert options can be continued as desired. It follows the mathematical logic. If, for example, an AND is combined with an OR option, brackets are automatically set.
- Do you want the definition change, then they click on the wrong element and activate the button [Clear]. After confirming the dialog, the result is inserted as a new group in the mass tree. Below the group, the individual information on the intersections of the subgroups up to that of the individual objects with one another is listed. You can call up the quantity information for each subgroup in the tabs.
The created intersections can be edited and added later. To do this, activate the Mass tree the desired grading group and go to the tab intersection. The functions are identical to those for creating intersections.
Overlay options
To get proper grading results, the grading options must be properly applied. Therefore, the system should be briefly presented here again.
| Area 1 AND Area 3 |  |
| Area 1 OR Area 3 AND Area 2 |  |
| Area 1 OR Area 3 AND NOT Area 2 |  |
For a clear presentation, each of the intersection results can be stored with its own graphic. In this way you can see your focal points at a glance and you quickly and easily have a basis for discussion for the further planning process.
Were the groups or objects that you have blended already Colors assigned (solid hatching with color specification), the program determines a mixed color for each intersection result, which it assigns to the intersection object. This can still be edited. The representation is usually sufficient for a quick overview by creating a legend of the intersection results.