Table of Contents
Digitize
Command: DIGIP
Description
With the command Digitize  individual DTM elevation points can be created. This command gives you the option of digitizing or entering height points, which are available as a measurement plan, for example, and thus insert them into the drawing. Then these Combine height points to a point set.
Application
- After the command has been called, a small dialog appears in the top left, which is permanently visible during the entire input process.

- When a description is entered, the digitized point is automatically labeled. With the option only next can be switched between a single use only for the next point and a multiple use. The exact Point height entered or alternatively changed at intervals using the arrow buttons.
If you control the height of the points with the arrows, stay in the drawing area and the next click with the mouse sets a point. If you enter the value manually, you must first return to the graphics area with a click of the mouse.
- After entering the parameters, you can start digitizing the points in the drawing by clicking with the mouse pointer. If the input is to be ended, this can be done with Enter or right click.
Alternatively, the point coordinates can also be entered using the keyboard.
Example enter a point: 134.67,254.56,162.00 Enter
Functionality
All newly created DTM elevation points are based on the current Layer placed. You should therefore create and update a new layer before calling the command in order to collect the elevation points on it.
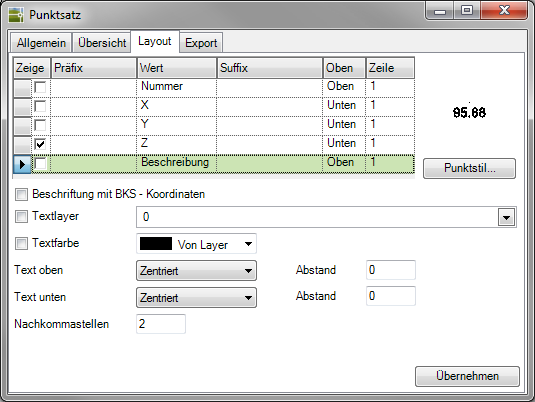
If, despite entering a description, this cannot be seen at the points created in the drawing, this is probably the option Description deactivated for the labeling of the points.
Activate in the info window (see Quick DGM) on the tab layout the description to the point.