Table of Contents
BILD Bearbeiten
Description
In the program area Picture you have the option to edit your pictures. You can take the pictures crop, straighten, in Adjust color characteristics with a Texts and Logos provided.
Start the image editing dialog
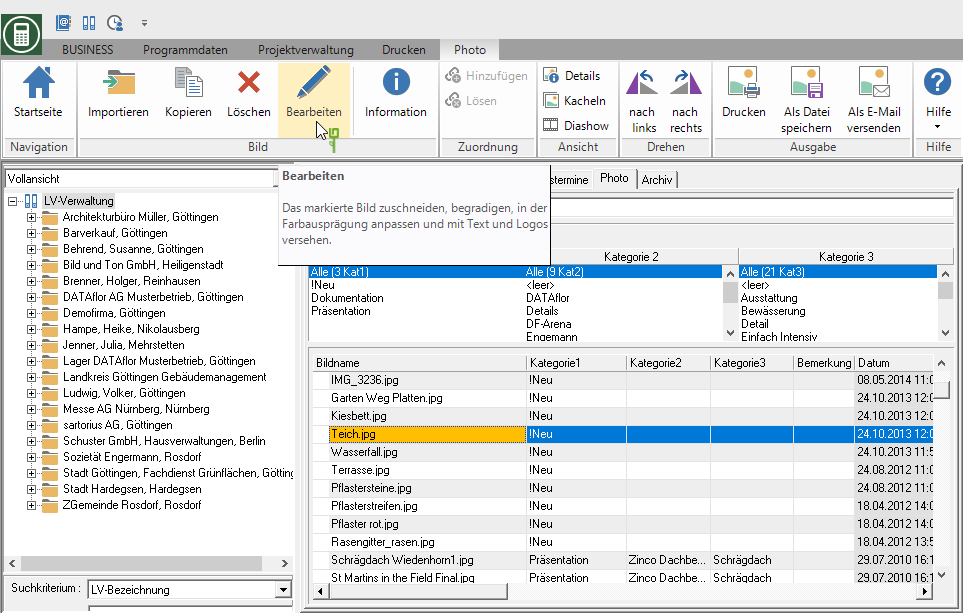
Check that BILD on the tab Picture and click in the menu Picture on  or lead on the marked BILD a double click.
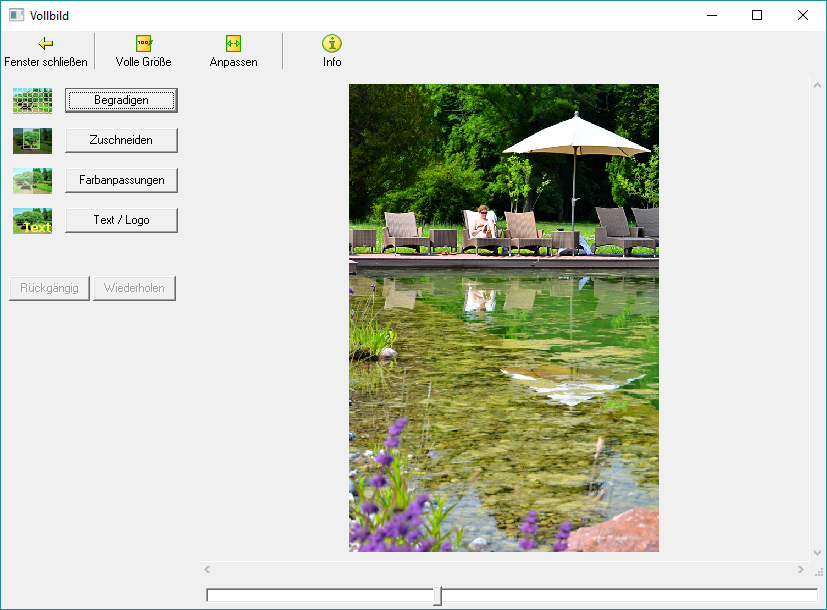
The BILD is opened in the editing dialog.
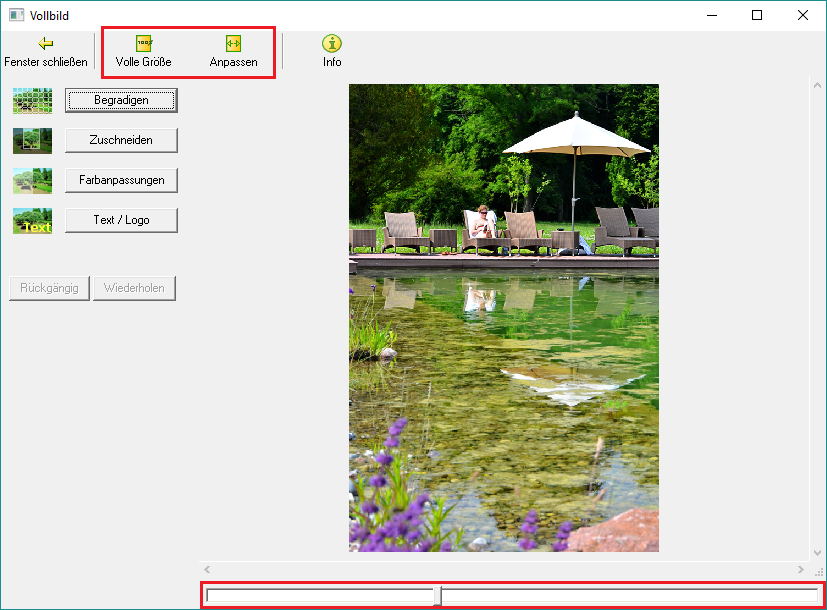
Adjust display size
Via the switch Full size and Adapt and the slider at the bottom of the dialog control the size of the image.
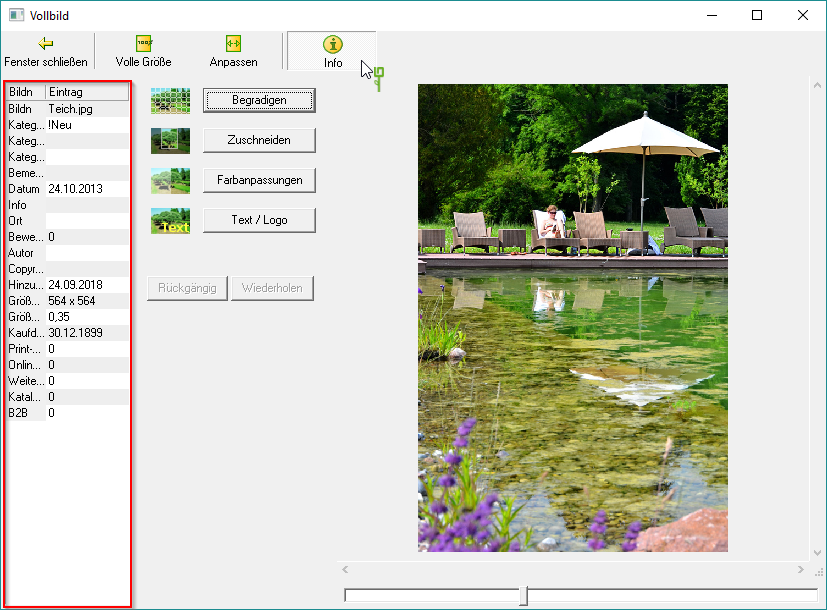
Display image information
BILD straighten
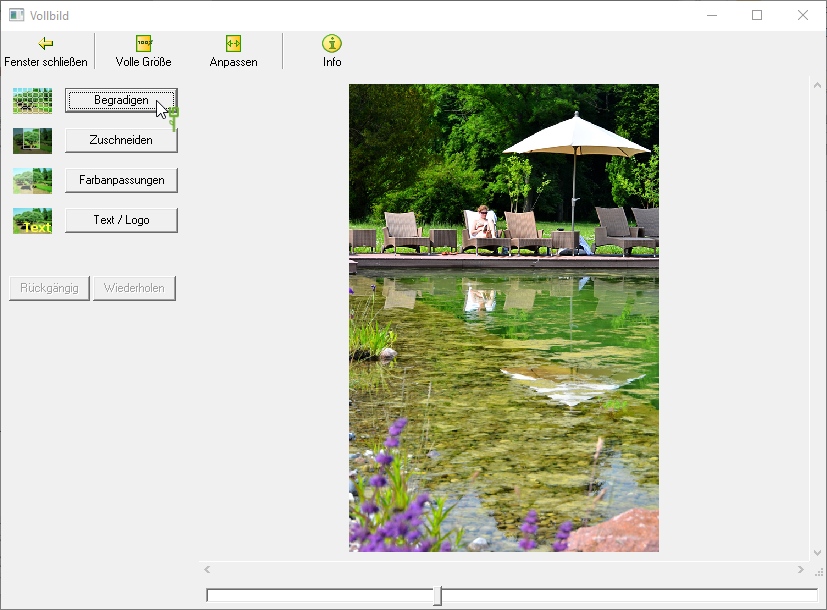
By clicking [Straighten] you can straighten images that have accidentally been photographed crooked.
Enable  The option Show gridthat will BILD placed in a grid. So you can orientate yourself on straight edges.
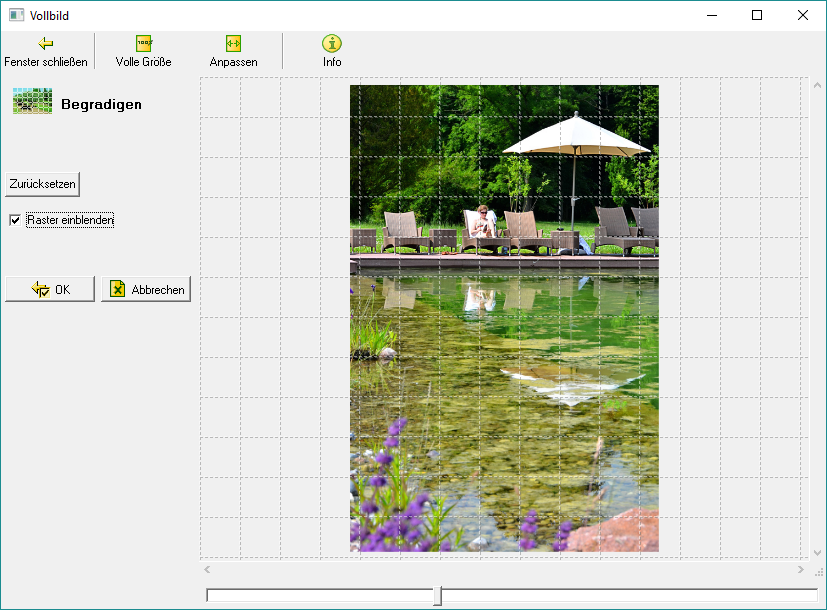
To the BILD to move, drag that BILD in the desired position while holding down the left mouse button.
If you like that BILD straightened but you don't like it, repeat the process or set that BILD with [Reset to default] return to the starting position and straighten it again.
If you are satisfied, confirm with [OK]. This takes you back to the previous dialog window. This is the last time you can undo your straightening. Close the dialog box or edit yours BILD continue.
BILD crop
Would you like one BILD crop, click [Crop].

Auf dem BILD there is now a square that you can individually enlarge or reduce using the small white squares.
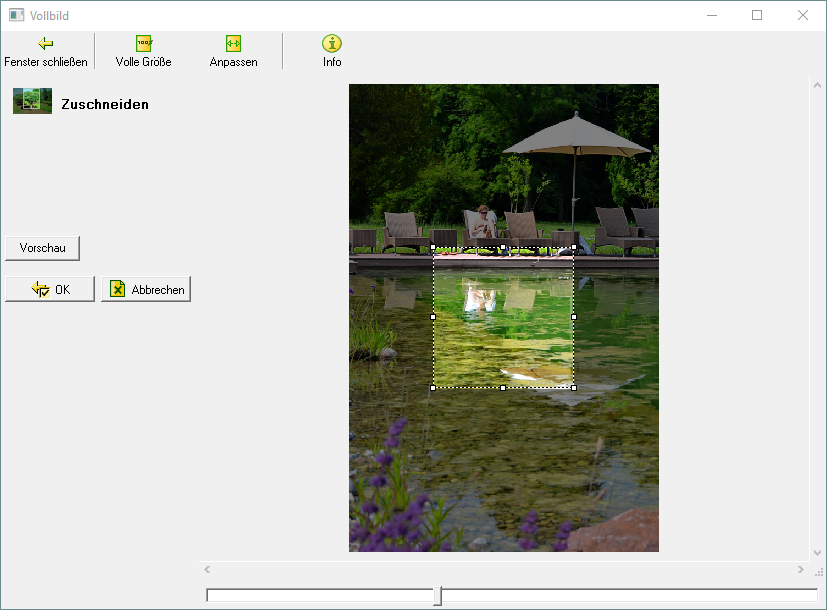
By clicking [Preview] takes you to a current view of the cropped image. Clicking again [Preview] zooms that BILD back to the previous position.
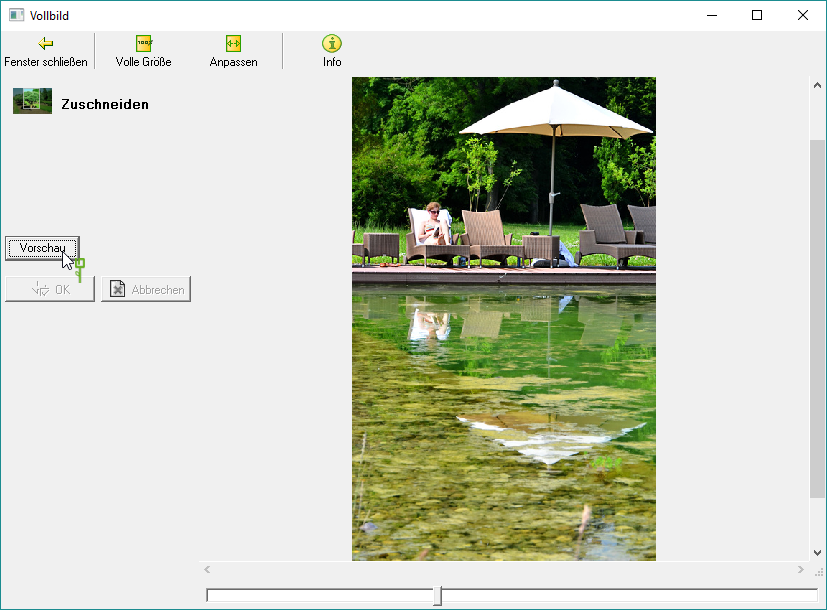
Confirm the change with [OK] or edit that BILD continue.
Color adjustments
To make color adjustments to a BILD to do, click to invoke [Color adjustments] enter edit mode.

On the left are the color sliders. You can do that BILD in brightness, contrast and gamma as well as in hue, saturation and luminosity. To do this, slide the controller in the desired direction. The change in the image is reflected in the selected square. Here in BILD exaggerated.
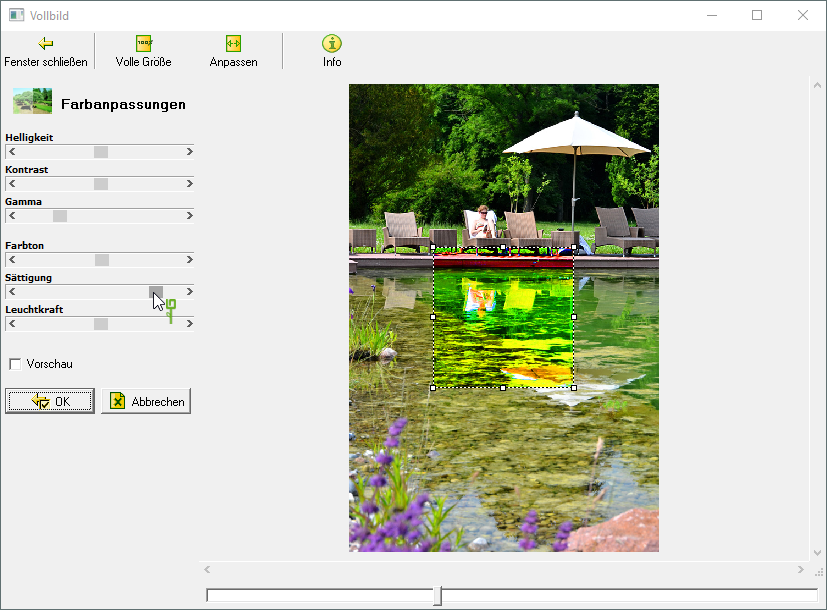
To reset the controller in the middle, click with the right mouse button in the field of the respective controller.
You can access the preview by selecting the option Preview activate  . Deactivate the option
  to that BILD edit it until it suits you. Then confirm with [OK].
Insert text
By clicking [Text / logo] can you one BILD add text
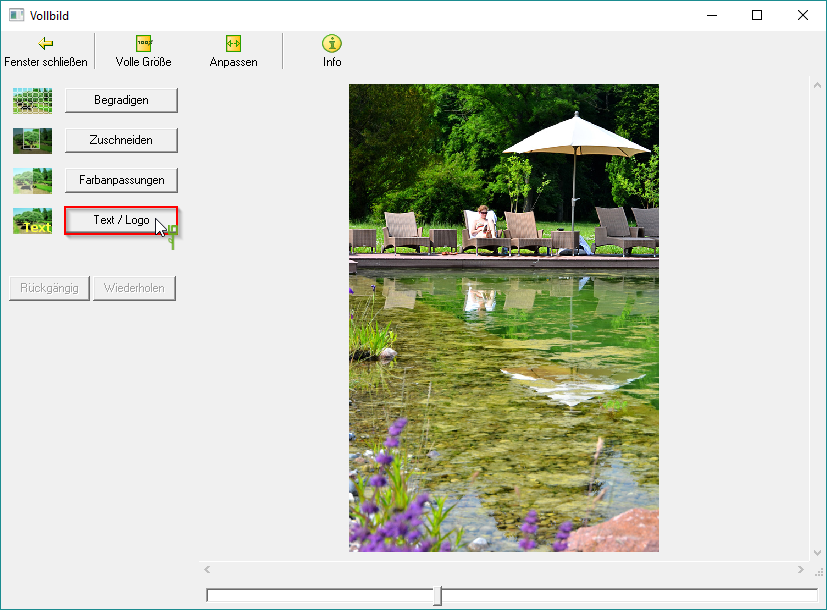
The edit mode is opened.
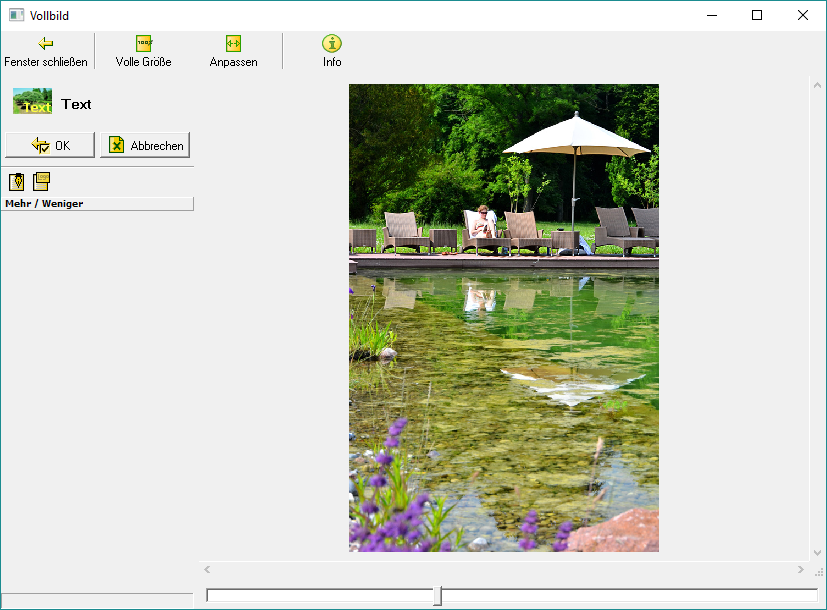
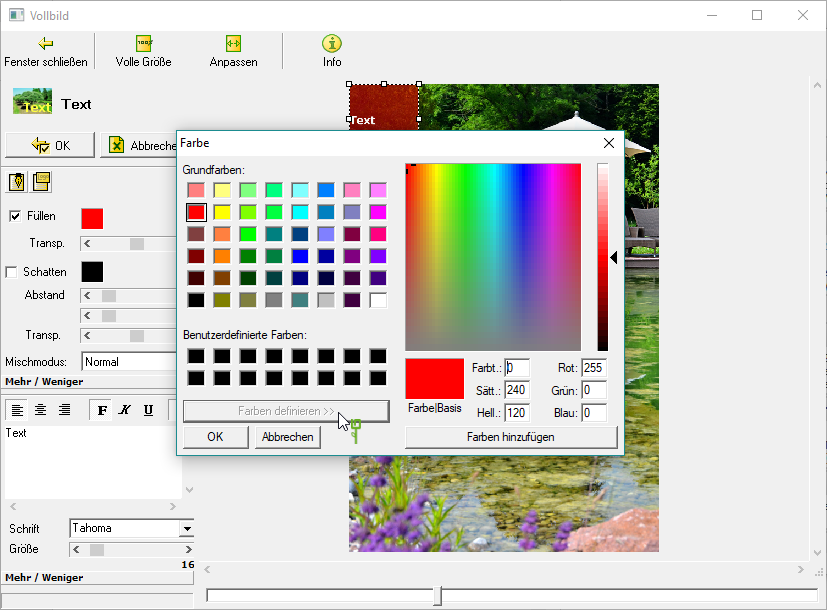
click on  a text box will appear on the BILD. At the same time, a text format field opens in which you can enter the text or drag and drop it from the information field. You can also set the font, font size, block text, etc. Move the text field with the mouse and use the small squares to change the size.

To give the text color, shadows or transparency, click on the lower bar [More less]. The settings are only adopted if the respective text field is active, i.e. the frame is displayed.
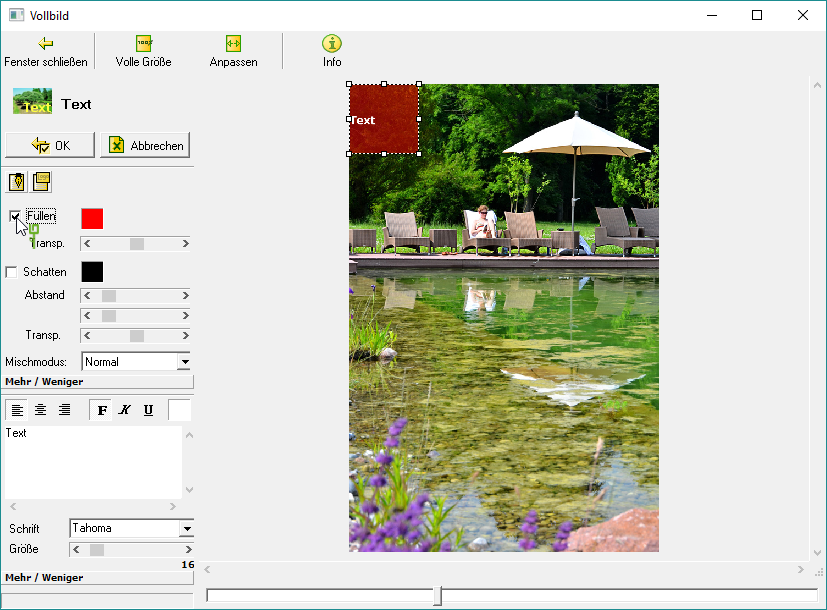
If you want to use other colors for the shadows or the fill, click on the respective color box. You then get to a color selection from which you can choose freely.
The logos are on an extra layer and are on the Picture list not printed. If you do that BILD first Save as a file, the texts / logos can also be printed out.
Insert logo
By clicking [Text / logo] can you one BILD add a logo.

The edit mode is opened. First click on  and then on
  . The Windows file selection dialog opens. Select the logo you want and confirm with [To open].
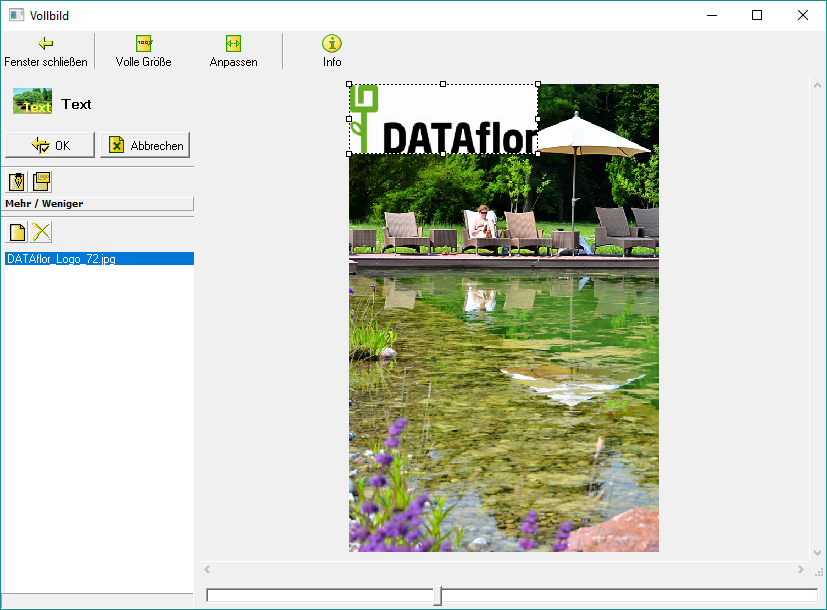
You can also insert multiple logos. Confirm the process with [OK] and finish editing the image.
The logos are on an extra layer and are on the Picture list not printed. If you do that BILD first Save as a file, the texts / logos can also be printed out.

