Table of Contents
Print table
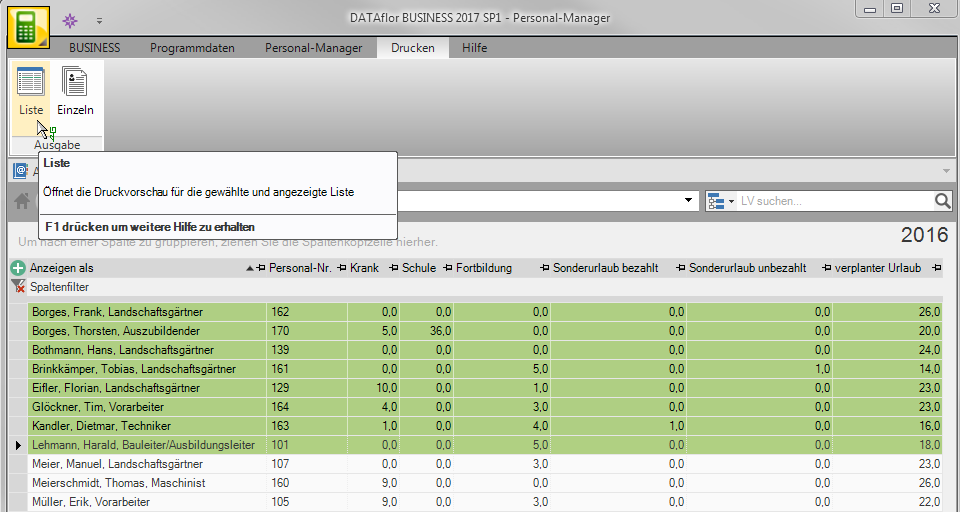
First mark in the table with Ctrl, Shift or Ctrl + A the lines you want to print out in a list. Then open the menu Print and select the entry List for the tabular output resp. Individually for the output of the data separately for each employee.
The following print menu opens.
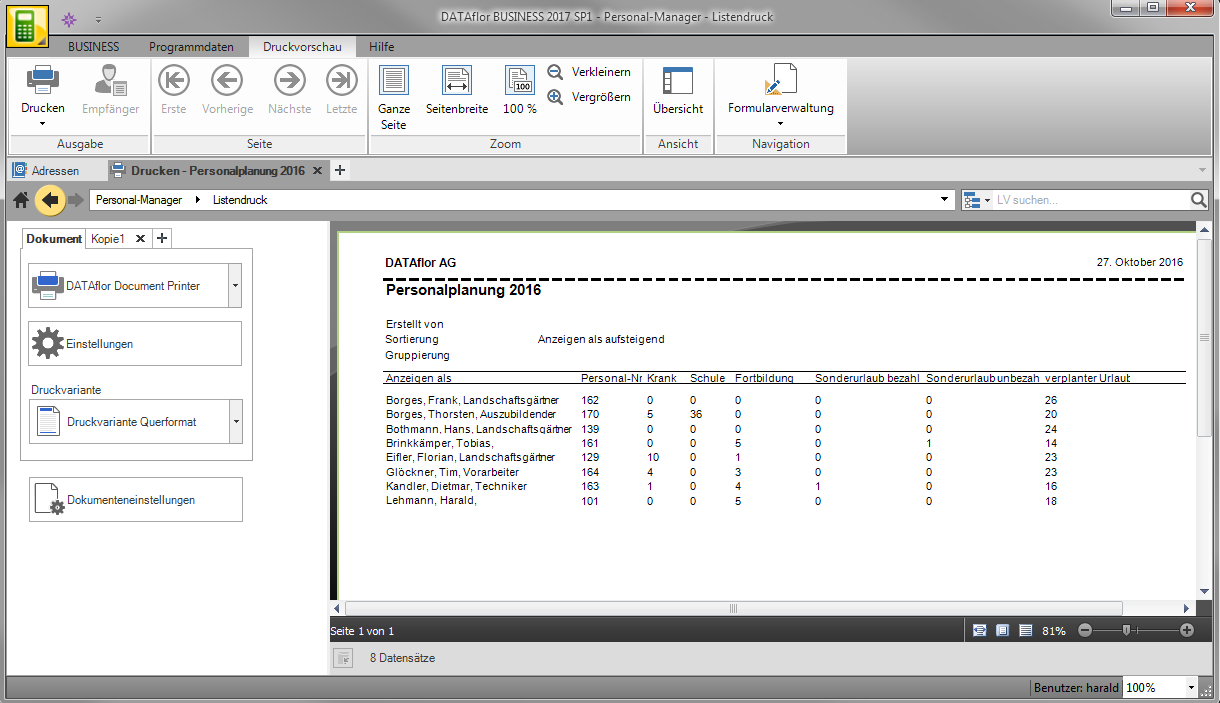
Print settings
Make the following settings:
printer
By clicking  choose the printer you want to use for printing. Only printers installed under Windows are available for selection.
Settings
First page / remaining pages
If your printer offers several paper trays, select by clicking on  the slot from which the paper is used for printing.
Page from ... to ...
Here you can specify the pages to be printed out.
Copies
If you need multiple copies of the list, choose  Select the number you want here.
Min and
The output of the individual pages of several copies can be done either separately (111, 222, 333) or sorted (123, 123, 123).
settings page
Paper
By clicking  select the desired paper size.
Width / height
Enter the width and height of the paper to be printed in cm.
Format
Select by clicking on  whether the list is output in portrait or landscape format.
Margins in cm: Left / Right / Top / Bottom
Enter the margins that should remain unprinted.
Watermark
If necessary, define a watermark that is printed behind the text of the list.
Pressure variant
For each form you can use the designer to create different Print variants shape. By default, when you open the print menu, the variant that you used for Form List printing have set. By clicking  select the variant that you want to use for the printout.
Document settings
Make the following settings:
Form name
Enter the title that will be printed at the top of each page in the list.
Row height in cm
Specify the height used for the rows in the table.
font size
Enter the size in points (pt) used for the font in the printout.
Column selection
The columns that were displayed in the search result are available for list printing. To use additional columns, adapt the data display to your requirements.
The column selection, column order, column width and sorting of the data can be done here using the functions for editing the Table layouts specially adapt for the printout of your personnel planning. The print preview is reloaded each time and constantly shows the current processing status.
Print preview and printing
The following functions are available in the menu within the print preview:
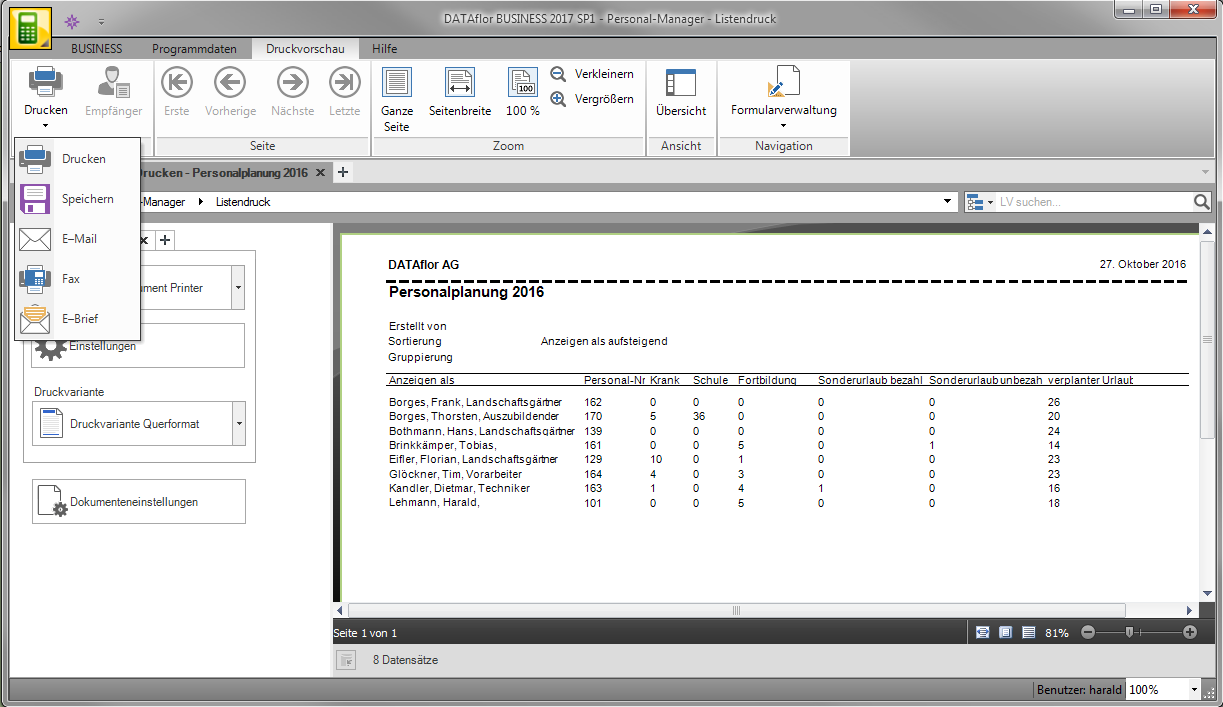
Print
By activating the respective option you choose whether you want to print the list, save as a file or as Fax or e-mail want to send.
Recipients
If the list is output as a fax or e-mail, you can enter a subject and info text that will be automatically included in the e-mail or fax. In addition, select the e-mailAddresses and fax numbers to which the list will be sent.
First / previous / next / last page
For lists with several pages, switch to other pages within the print preview.
Full Page
Shows the complete page in the print preview.
Page width
Shows the page in the maximum possible width.
Reduce / Enlarge
Changes the zoom of the displayed page for a larger or smaller view.
Overview
Shows all pages of the list one below the other in a thumbnail preview Clicking on a page loads it into the print preview.
Form management
Switches to the form management. The selected form variant or the selected print variant is automatically marked so that it can be adapted directly if necessary.
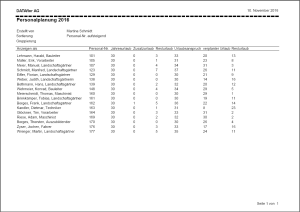
For example: List printout vacation calculation
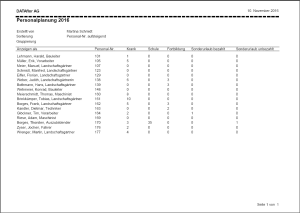
For example: List printout of other absence times
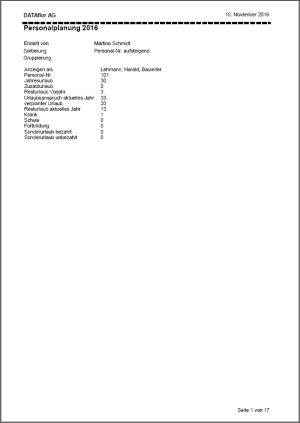
Example: Single printout, all absence times per employee

