Table of Contents
Views and view functions
Correctly using the various views is a critical step in using and learning to DATAflor GRÜNSTUDIO 3D.
The three different views
The view Map enables you to have a 2D top view of your project. Here you can easily add and move objects. The plan view is also used to add labels, notes and title blocks. However, these can only be seen in the plan view.
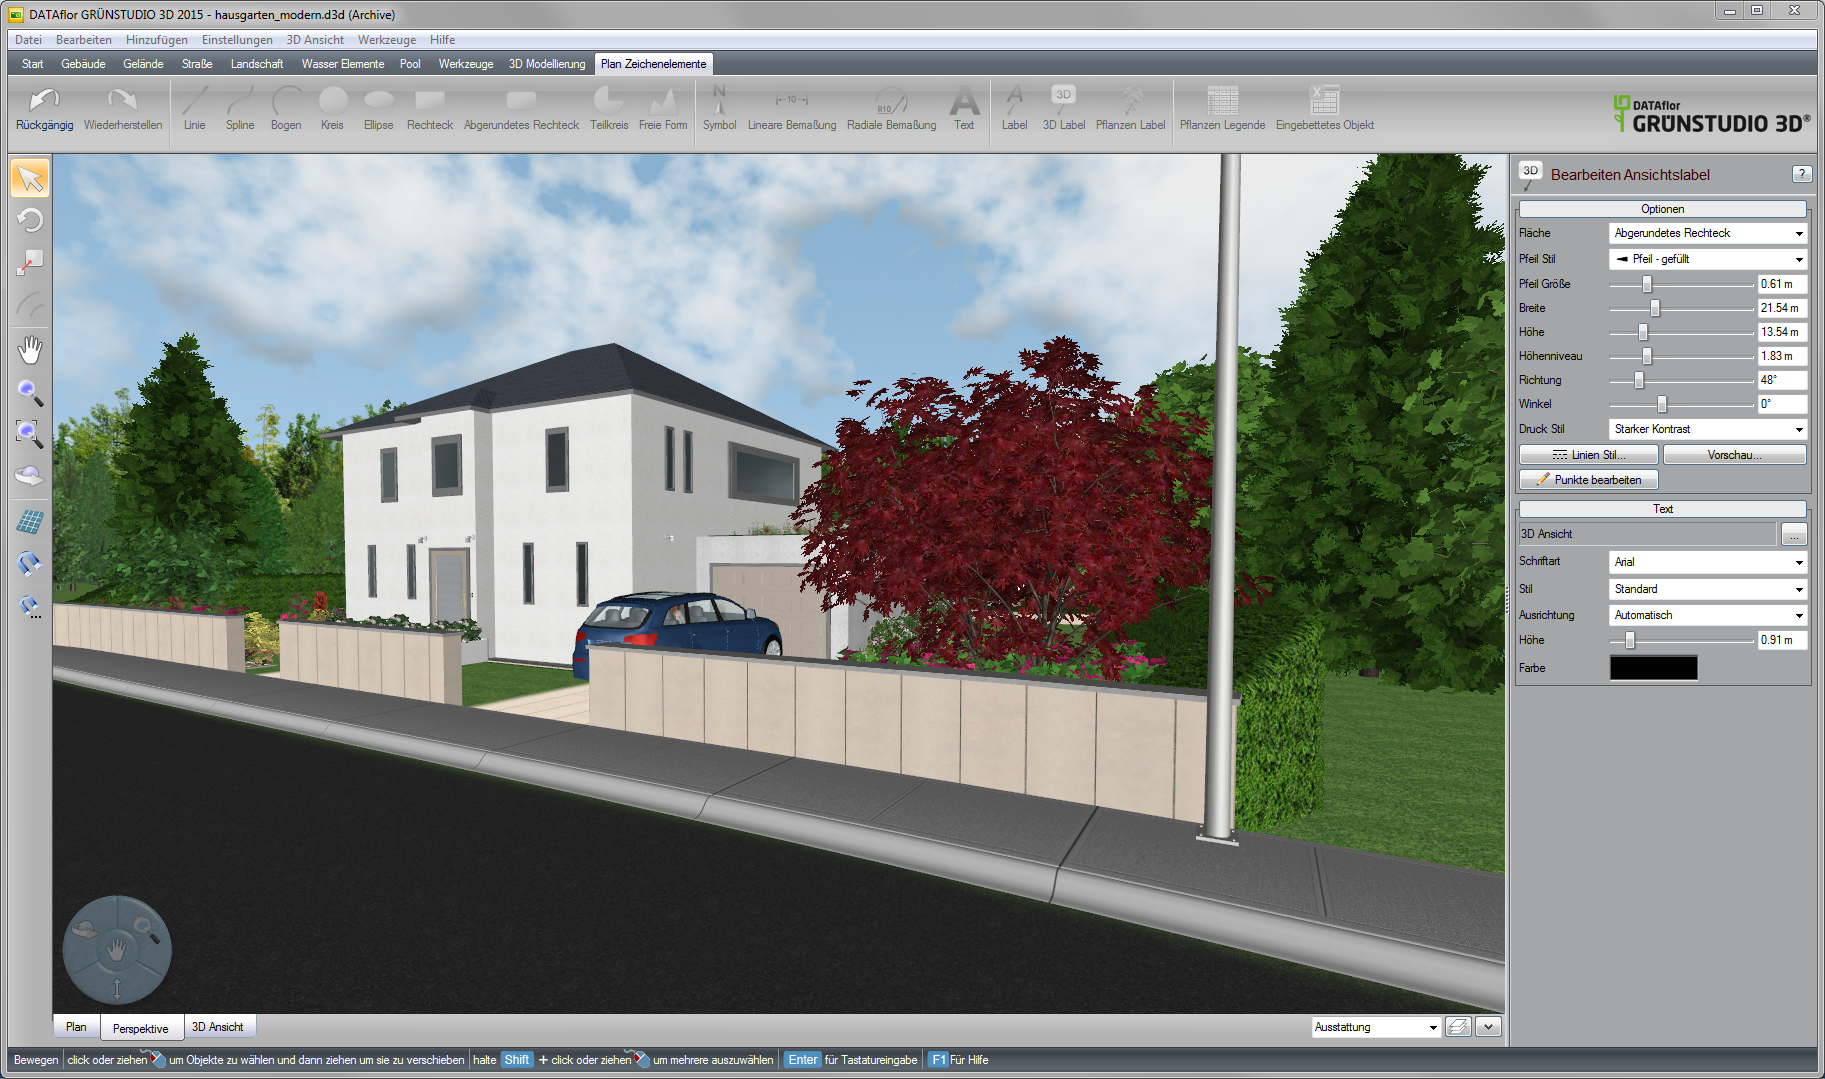
The Perspective view gives you the opportunity to edit your project in the 3D view. This is the easiest view for editing heights, adding windows and doors. Most of the work steps can be carried out in these two views.
The 3D view gives you the opportunity to walk through your project. It creates realistic light and shadow conditions, flowing water and other effects. However, you cannot edit your landscape in this view.
The viewing functions
Pan function
To use the pan function:
- Click and hold Bread.
- Hold down the left mouse button and move the mouse pointer over the screen.
If you click and hold the middle mouse button (also often called the mouse wheel), you can also use the pan function. You can also use this pan function with the arrow keys on the keyboard.
zoom
To zoom in plan or perspective view:
- Click and hold Zoom
- Drag the cursor up and down the screen.
You can also use the mouse wheel to zoom. You influence the settings in which direction is zoomed under Settings> Program Settings> User Interface> Reverse Mouse Zoom Direction. Another way to zoom is to hold the left and right mouse button and drag them up or down.
Zoom selection
To zoom in on a selection in the plan or perspective:
- click on Zoom selection or press the key Zafter selecting an object.
- The view will change to the selected object. If no objects are selected, the display changes to the entire editing area.
Zoom rectangle
To zoom into a rectangle:
- Click Zoom Rectangle.
- Click and drag the mouse over the project to draw a right that you want to zoom into. When you release the mouse button, the view is enlarged to the selected rectangle.
This tool is only in the Plan view usable.
Orbit function
To use the orbit function:
- Select an object that you want to move around.
- click on Zoom selection or press the key Zto center the view on the object.
- click orbit.
- Position the cursor in the field of view, click and hold the left mouse button and drag the mouse across the screen.
This function is only available in the Perspective view is possible.
Mouse shortcut: Click and hold the right mouse button in the field of view and drag it across the screen.