Table of Contents
Label
Description
In dialogue Label all objects within groups or also individual objects can be provided with text.
At group level, for All or every single one Property Type a different label can be set up. If a single object is selected in the mass tree, the object type is automatically preset.
Functionality
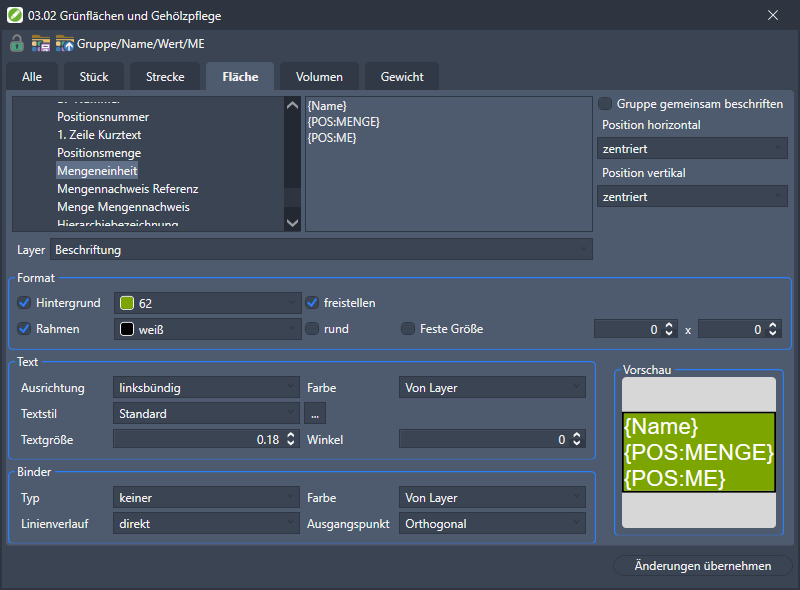
For the Label You can enter free text in the second field or a Variable can be inserted from the first field by double-clicking, with the property of the object then inserted as text in the drawing. Further options are available by right-clicking on the variable in the first field. A combination of free text and variables is possible.
Furthermore, the LayerAnd the location the labeling in relation to the object. The position of the inscription is in each case [centered] set, ie the text is inserted in the computational center of the objects. Notes on the option Label the group together can be found below in the chapter Summarize the labeling.
The properties in the areas Format, text and Binder correspond to those of Text label.
The Labeling property is automatically inherited by all subordinate groups and objects when it is created. Exception: Separate labels have been defined for groups or objects.
As soon as you have defined the labeling for the object type, these settings can be locked for the selected group and used in the Theme Manager to save:
| Lock unlock | Locks the label so that changes to the label made in higher-level groups are not adopted. | |
| Apply to New Topic | The label is saved in a new label sub-theme. The name of the group marked in the mass tree is used for this. | |
| Apply to existing topic | The current label is saved in the existing label sub-theme. If the selected group has not yet been assigned a topic, the label is saved in the standard. |
If selected subordinate groups or objects (e.g. deduction areas) should not be labeled, replace the existing text with a space.
In order to get the unit of measure m² instead of m2, the key must be pressed simultaneously when entering the 2 Alt Gr be pressed. It must be ensured that the text style set (Change menu) also supports the entry of ². This is the case with the ARIAL font style, for example.
Change the annotation in the drawing
If the position of the text in the drawing is to be changed, the text must be marked. The text can now be sent to the Griffen be moved.
Special features of the labeling
Labeling with your own attributes
If you want to label with assigned attributes, select the generated formula in the object label under Formulas the end. Example of the formula cost per area.
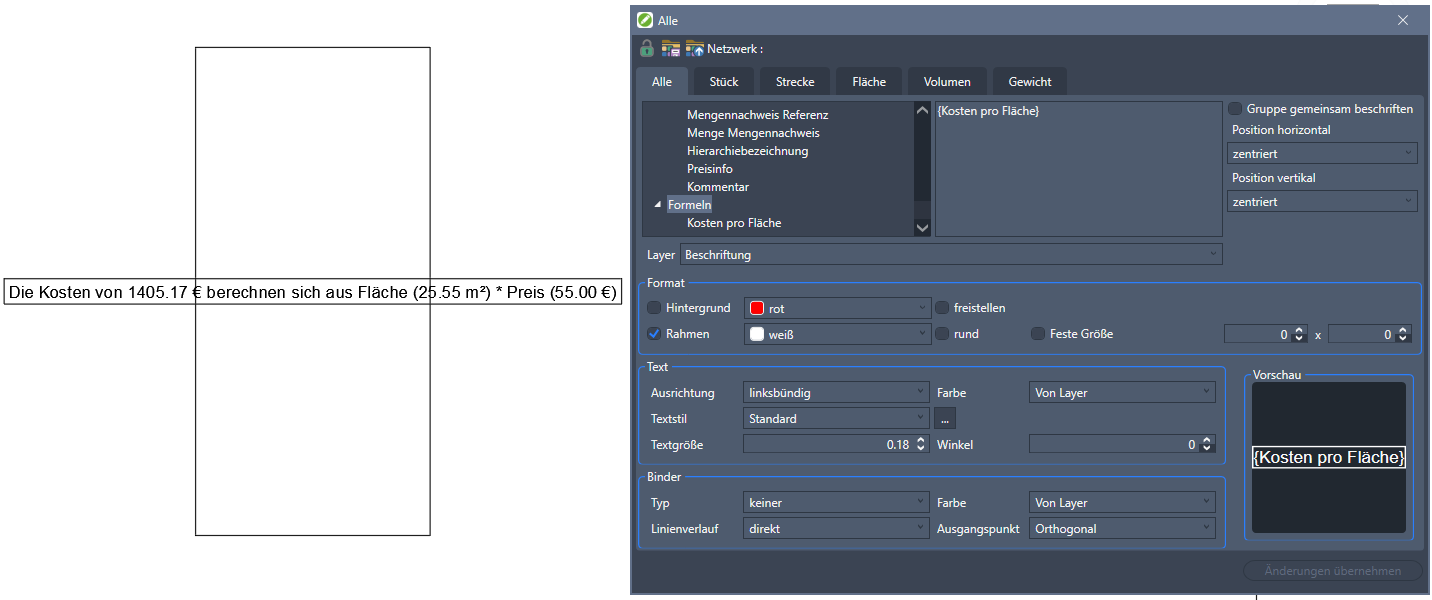
Information on creating formulas can be found in the chapter: create formulas
Labeling with variables from special formulas
If the attributes of the special formulas (area from distance, volume from distance and volume from area) are to be labeled, this can be done by manually entering the attribute name. The following attribute names can be used:
| {VaF} | Labeling in the drawing with the value of the volume from area or distance |
| {FaS} | Labeling in the drawing with the value of the area from the line |
| {Layer} | Labeling in the drawing with the layer thickness |
| {Width} | Labeling in the drawing with the width for area from line or volume from line |
Conversion of units of measure
With the variables for the object properties it is possible to have them converted into another unit of measure, for example area in km².
For this example, first select the variable {Area} and then add them : km², so that {Area: km²} is in the labeling field. A conversion takes place automatically, in the example: km² = m² * 0,000001.
Many common units can be used for this type of conversion.
Control of the decimal place
For variables, by specifying parameters # + Value the number of decimal places can be controlled. It is rounded mathematically. Example:
| {Area # 0} | Labeling in the drawing: 34 m² |
| {Area # 3} | Labeling in the drawing: 33,849 m² |
Will be followed by a < indicated, the lettering is always rounded off. Example:
| {Area # 2 <} | 33.84 |
| {Area # 1 <} | 33.8 |
| {Area # -1 <} | 30 |
Will be followed by a > indicated, the labeling is always rounded up. Example:
| {Area # 2>} | 33.85 |
| {Area # 1>} | 33.9 |
| {Area # -1>} | 40 |
Labeling with higher-level parameters (group name and info field)
As a labeling option with group name or Info The field can also be labeled with superordinate entries, for example when the BUSINESS Coupling not with the position text, but with the title. Example:
| {Group 1} | Labeling in the drawing with the parent group name, one level higher |
| {Info # 2} | Labeling in the drawing with a superordinate info entry, two levels higher |
Summarize labels
Automatic grouping of labels during creation
With the labeling option, not only can individual objects be created, but also related labels can be created (analogous to Mega label). The option Label groups together in the tab Label to be activated.
If object properties (e.g. area) are also used, these are also added up at the same time.
Subsequent grouping of labels
Individual labels that have already been created can also be summarized later. This is via the command LABEL COLLECT (please refer Combine text label to mega label) possible.
Dissolving the labeling into individual texts
Common labels can be converted back into individual texts at any time. Use the command for this LABEL EXPLODE (please refer Dissolve megalabel). Alternatively, the labeling options from the tab Label removed and without the option Label groups together newly created.