Table of Contents
Create absence times
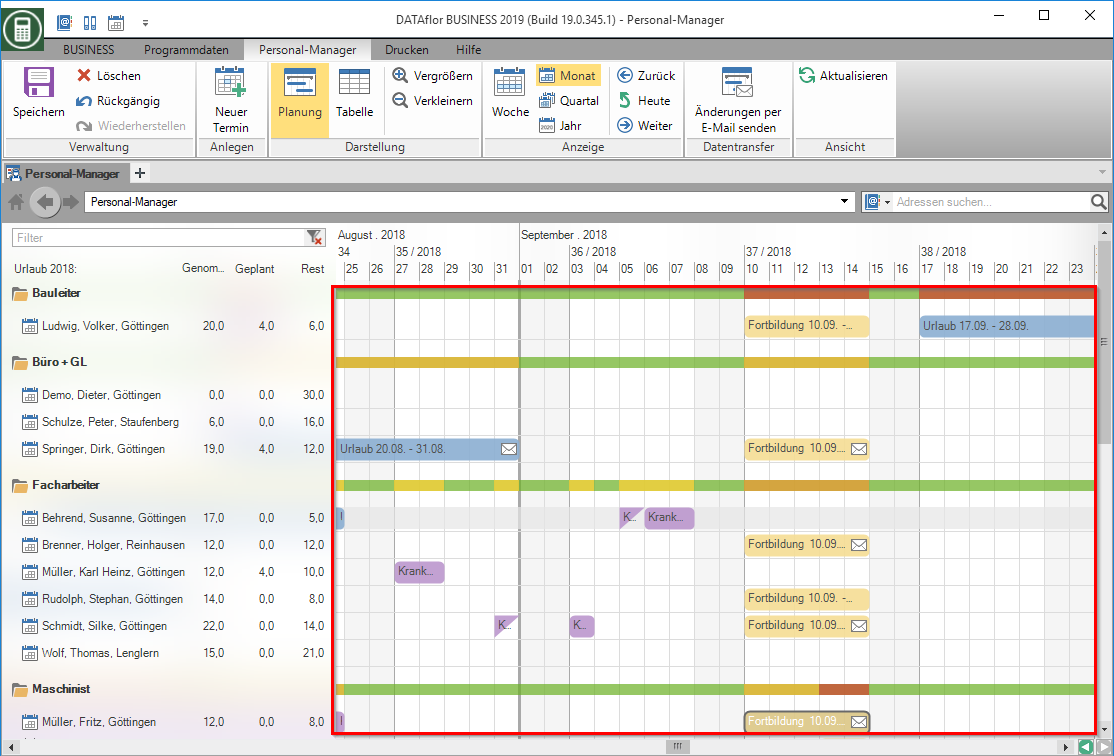
You can create the absence times of your employees in various ways. Recorded absence times are displayed as colored bars in the planning view.
Plant via the menu
Select in the menu HR manager the entry New appointment.

The dialogue Create appointment will be opened.

Instructions on how to change the order of the selection list Type Change, show or hide entries and add new, user-defined absence types to the list can be found in the section Basic settings under the point Program parameters.
Attachment in the calendar
In the calendar, select the line of the employee for whom you want to record an absence time. Double-click on the day to record the absence for a day or half a day or click once on the day on which the absence should begin and drag the bar with the left mouse button pressed to the desired end date.
The dialog then opens Edit appointment. Make further entries if necessary.
Plant via the context menu
In the calendar, select the line of the employee for whom you want to record an absence time. Go to the day on which the absence is to begin and right-click the entry in the context menu New appointment.
The dialog then opens Edit appointment. Make further entries if necessary.
Vacation calculation
When creating the absence type Vacation The program automatically determines for each employee the vacation that has been taken, planned and the resulting remaining vacation for the current calendar year.
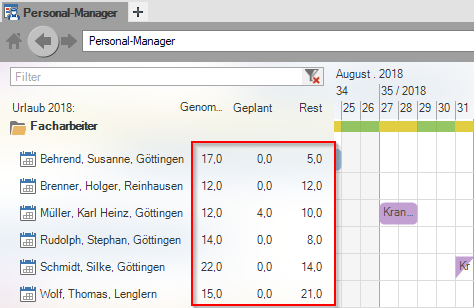
When determining the vacation taken, planned and remaining are those in the Annual working time management stored annual working time models (JAM) of your employees are taken into account.
Edit absence times
Edit individual appointments
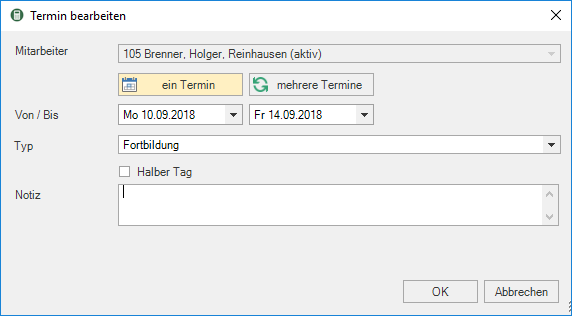
You can enter your individually recorded absence times via the dialog Edit appointment edit at any time.
By double-clicking on the absence bar or by right-clicking the entry in the list Edit select, open the dialog Edit appointment.
Edit recurring appointments
You can create a series of appointments via the dialog Open recurring appointments edit at any time.
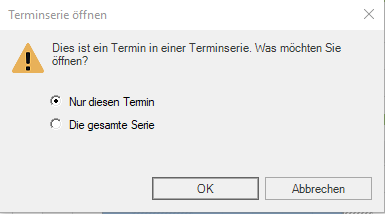
By double-clicking on an absence bar for your series of appointments or by right-clicking the entry in the list Edit select, open the dialog Open recurring appointments.
Choose whether you want to edit just a single appointment or the entire series.
If you make changes to absence times that are in the past, the program issues a corresponding security query.
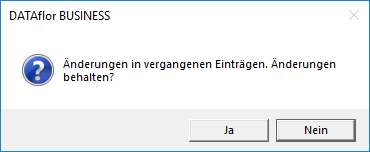
Confirm this with Jaif you want to apply the changes.
Edit time periods
The quickest way to change the periods of your absence is via Drag and drop.
Move the mouse over the left or right edge of the absence bar and hold down the left mouse button and drag it to the desired start or end date.

To move the entire absence time, click with the mouse on the absence bar and drag it to the desired period with the left mouse button pressed.
Split and merge
You can also check your absence bar using the functions Share and Merge edit further.
| feature | Description |
|---|---|
| Share | Select the absence bar and move the dashed, vertical line of the mouse pointer to the point where you want to split the bar. Press the key S (S = Split) or select the entry via the context menu with the right mouse button Share . |
| Merge | Mark two or more absence bars that lie on one line with Ctrl and then press the button C (C = Combine) or select the entry via the context menu with the right mouse button Merge . |
Delete absence times
Mark an absence bar or with Ctrl several absence bars that you want to delete and press the button Del or click in the menu HR manager on the entry Delete or select the entry via the context menu with the right mouse button Delete .
conflicts
The personal manager has automatic conflict detection. Conflicts always arise when an employee's stored absence times overlap.
Show conflicts
Conflicts that arise within the personal manager are displayed on two or more lines. You can recognize these conflicts by the red signal color.

If you have a license for the DATAflor Construction site manager the construction site times of your employees entered there are also taken into account in the conflict detection. You can recognize these conflicts by the red signal color and the single line Presentation.


