Table of Contents
print preview
Description
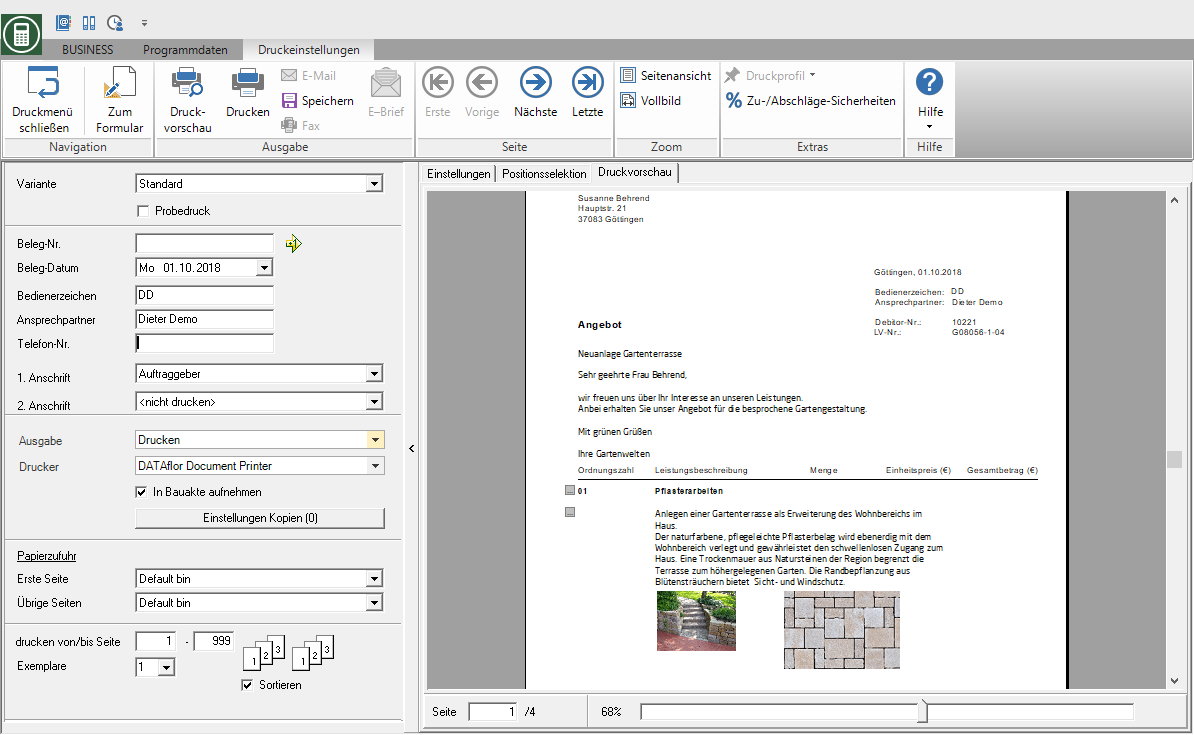
By clicking ![]() in the menu Print settings is on the tab print preview the printout with the settings and position selection made is displayed in the side view.
in the menu Print settings is on the tab print preview the printout with the settings and position selection made is displayed in the side view.
Various functions are available for viewing the print preview, subsequent editing of the LV and for designing the printout, which are described in the following chapters.
Select page
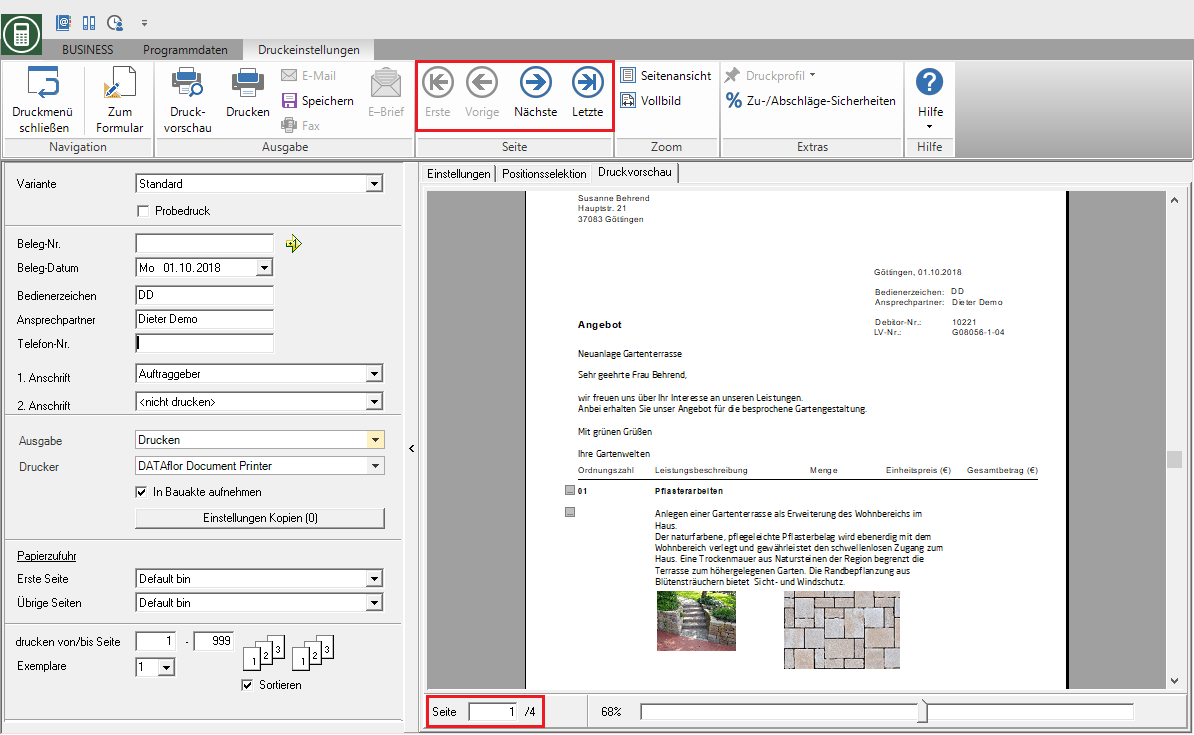
To view a specific page, navigate through the functions First, Previous, Next and Last in the menu Print settings in the group page. Or you enter the page number in the input field below the print preview and confirm with Enter.
Zoom print preview
About ![]() and
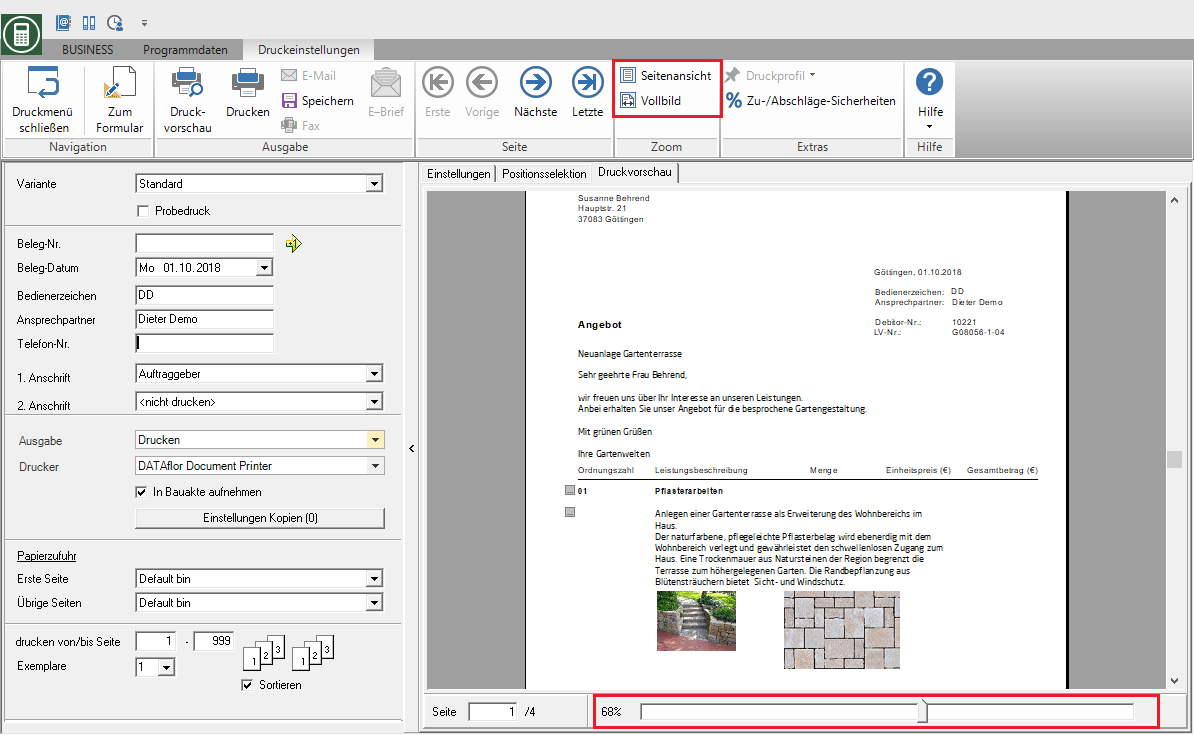
and ![]() in the menu Print settings and the slider below the print preview adjust the display size of the print preview.
in the menu Print settings and the slider below the print preview adjust the display size of the print preview.
You can also fold the print settings on the left edge of the screen.
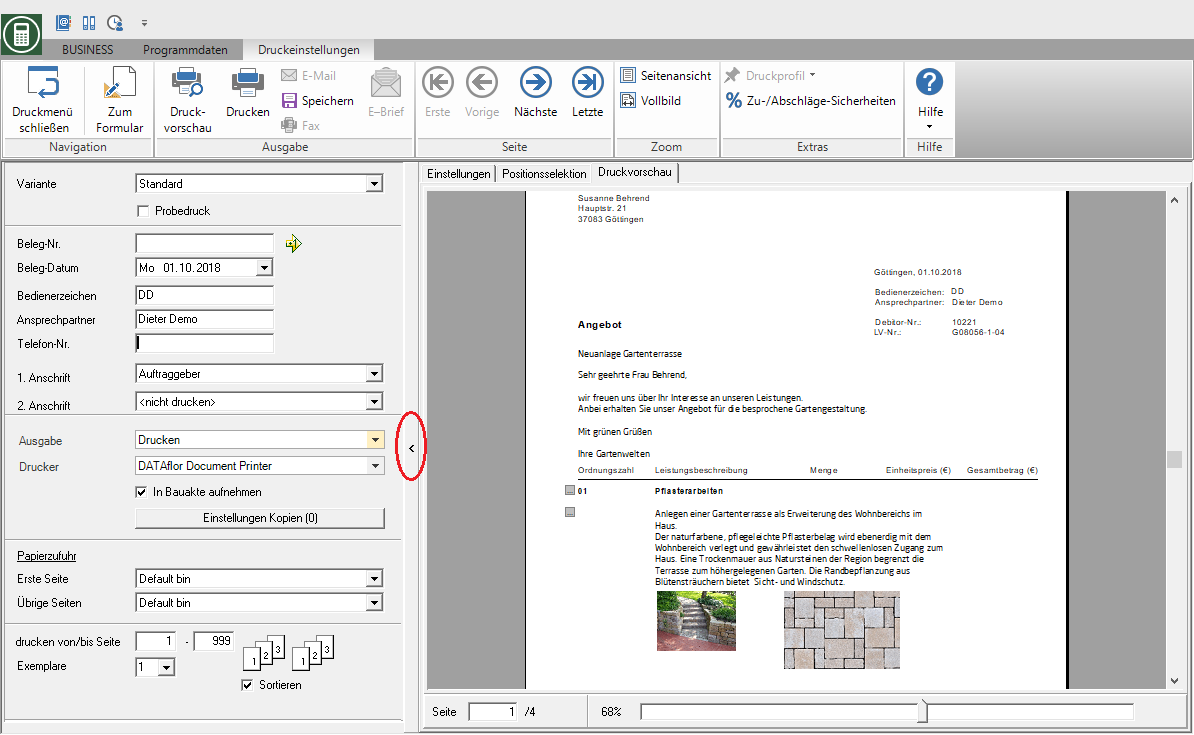
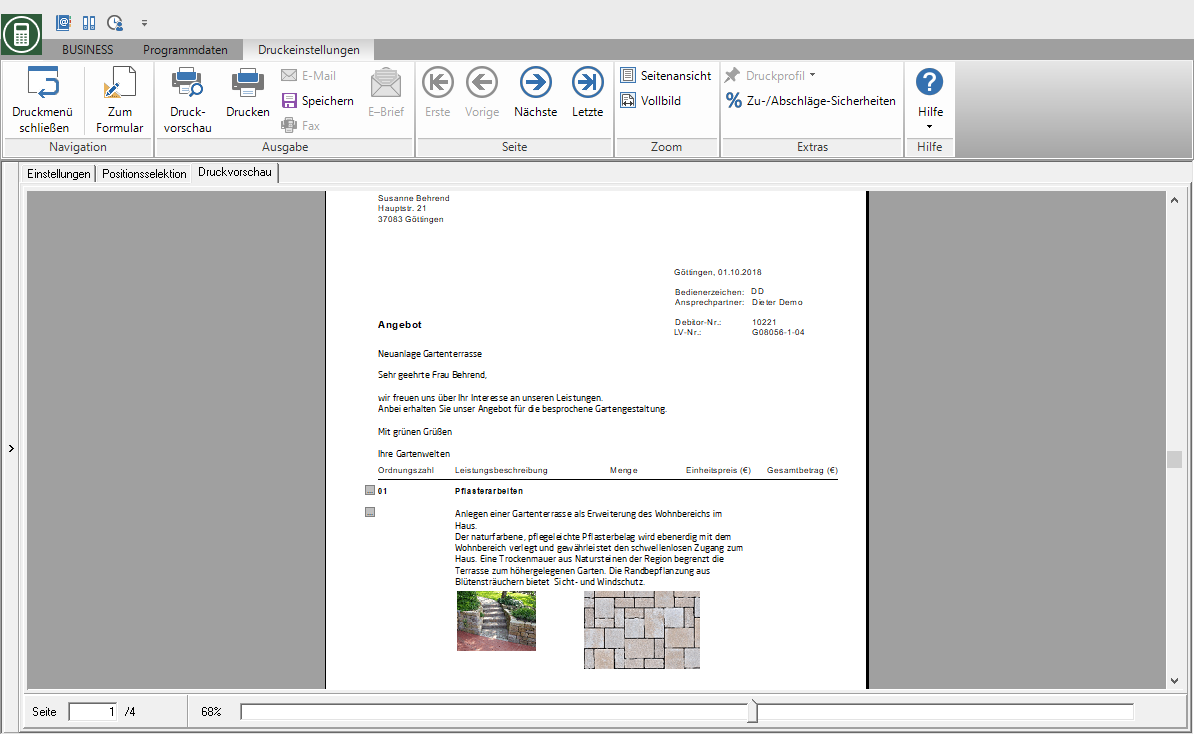
Then the print preview is displayed in the entire screen area.
Edit position text
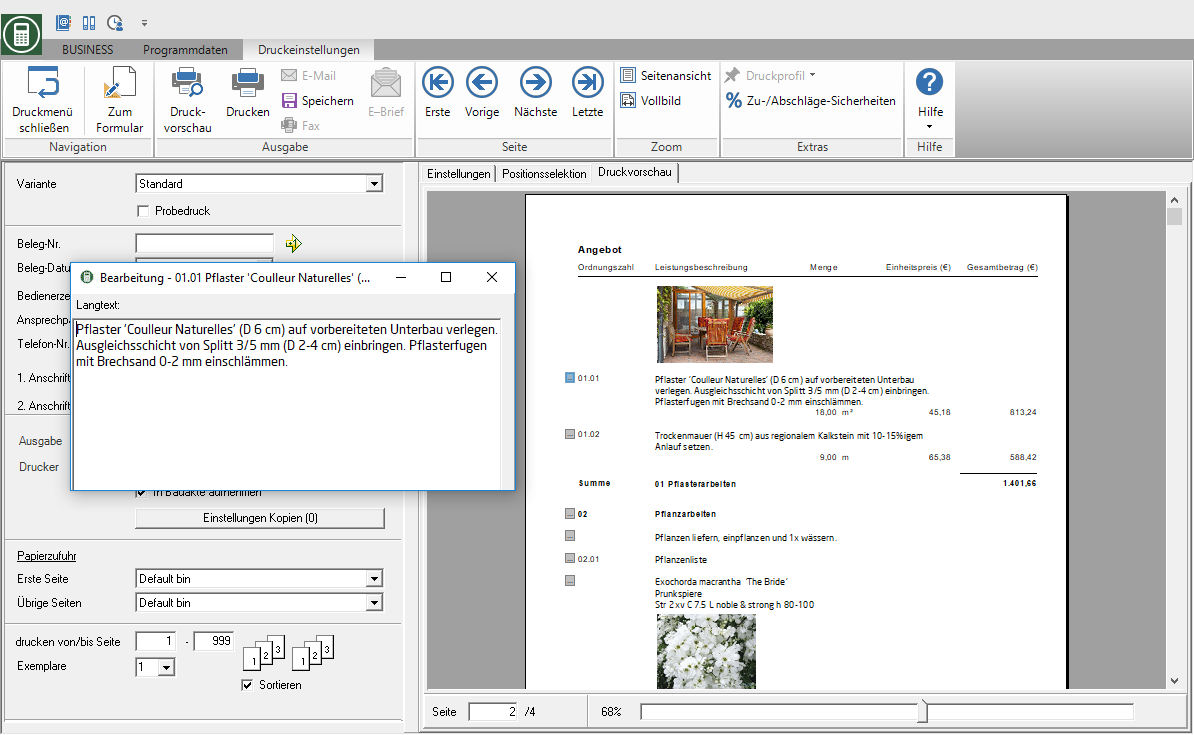
If you notice a typing error while viewing the print preview, for example, or if you want to add something to a position text, you can do this conveniently in the print preview without having to switch back to position editing.
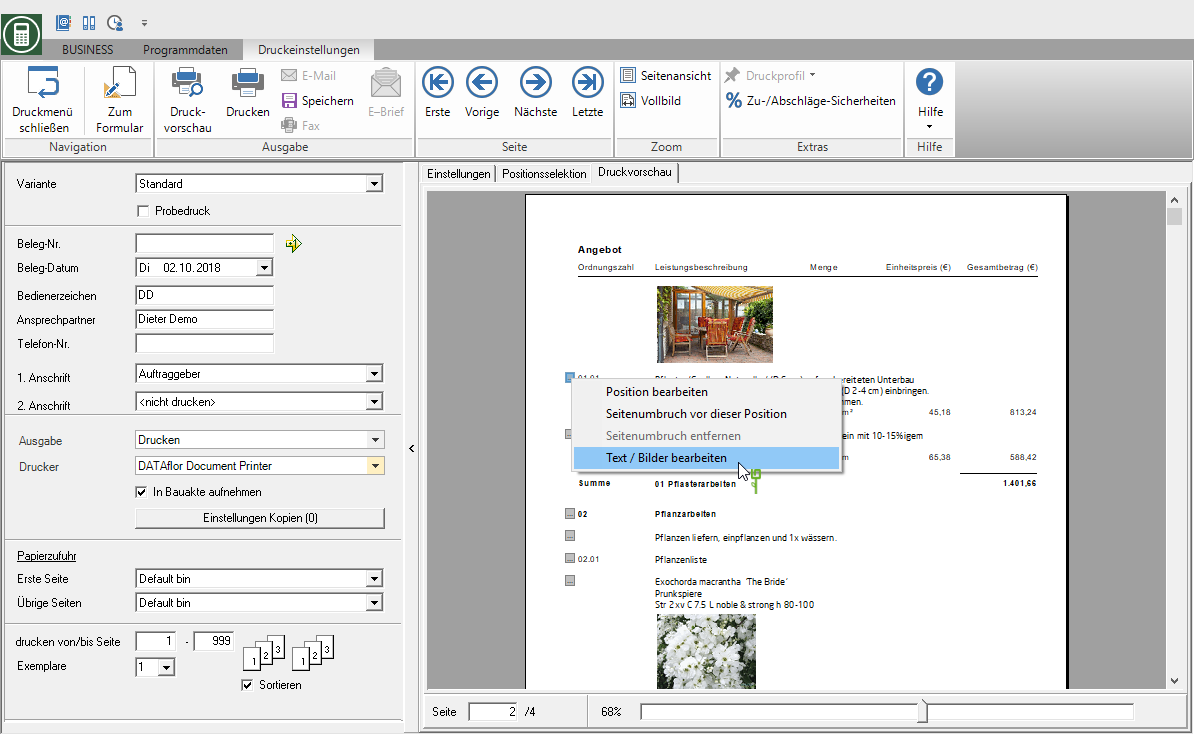
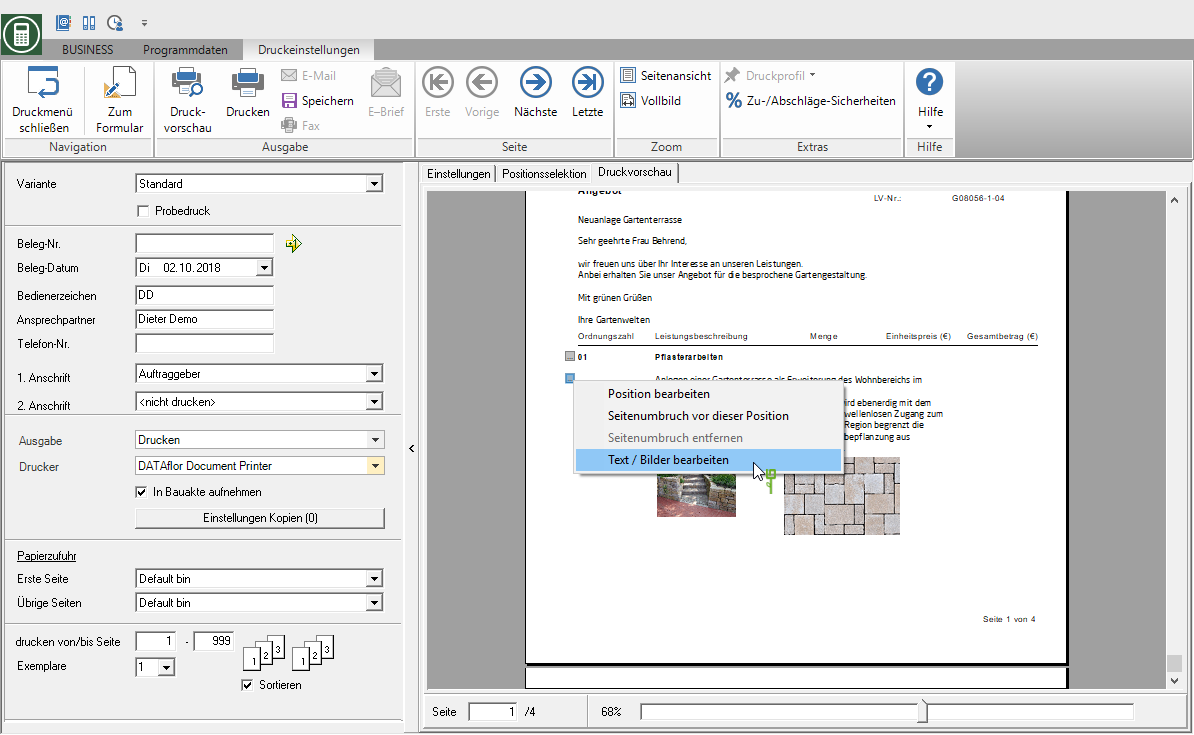
Click in the print preview ![]() in front of the position whose service description you want to correct or supplement. Select the entry Edit text / images.
in front of the position whose service description you want to correct or supplement. Select the entry Edit text / images.
The long text of the selected position / hierarchy is opened in an editor. The width of the editor corresponds to that of the im Program parameters Position text input width set text width in the printout.
Make your changes or additions and close the editor by clicking on ![]() . The print preview is updated.
. The print preview is updated.
Set image size
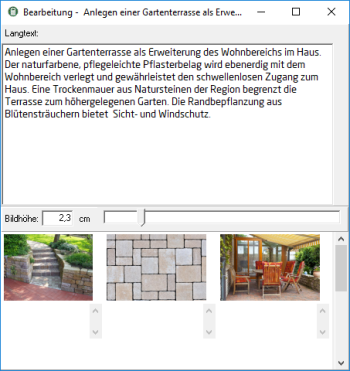
The size of the images in the printout is set via the image height. The image width is automatically adjusted in proportion. A picture height of 3 cm is preset as standard. The image size can be changed individually for each position. All images of one position are printed in the same image height.
This function is initially available in Services to disposal. An extension to other LV printouts is planned.
Click in the print preview ![]() before the position whose image size you want to edit. Select the entry Edit text / images.
before the position whose image size you want to edit. Select the entry Edit text / images.
The long text and the stored pictures of the selected position / hierarchy are opened in an editor. The width of the editor corresponds to that of the im Program parameters Position text input width set text width in the printout.
Enter the image height in cm or enlarge or reduce the image using the slider. The images are automatically distributed over the position text width. If not all images fit on one line, another line is automatically inserted. You can also edit the image name later.
Make your settings and close the editor by clicking on ![]() . The print preview is updated.
. The print preview is updated.
manual page break
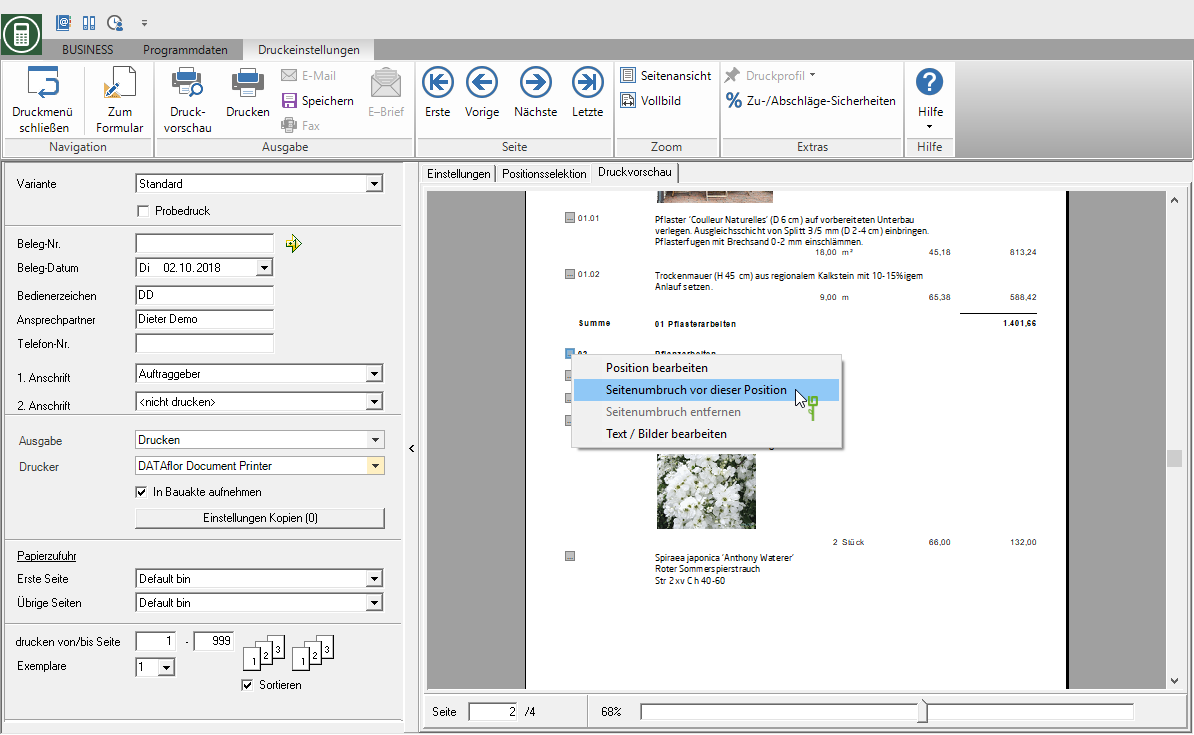
For the individual layout of your printout, you can enter manual positions / hierarchies Insert page breaks.
Click in the print preview ![]() before the position / hierarchy that is to be printed on the next page. Select the entry Page break before this position.
before the position / hierarchy that is to be printed on the next page. Select the entry Page break before this position.
The print preview is updated.
Remove existing page breaks by selecting the entry in the selection list Remove page break choose.
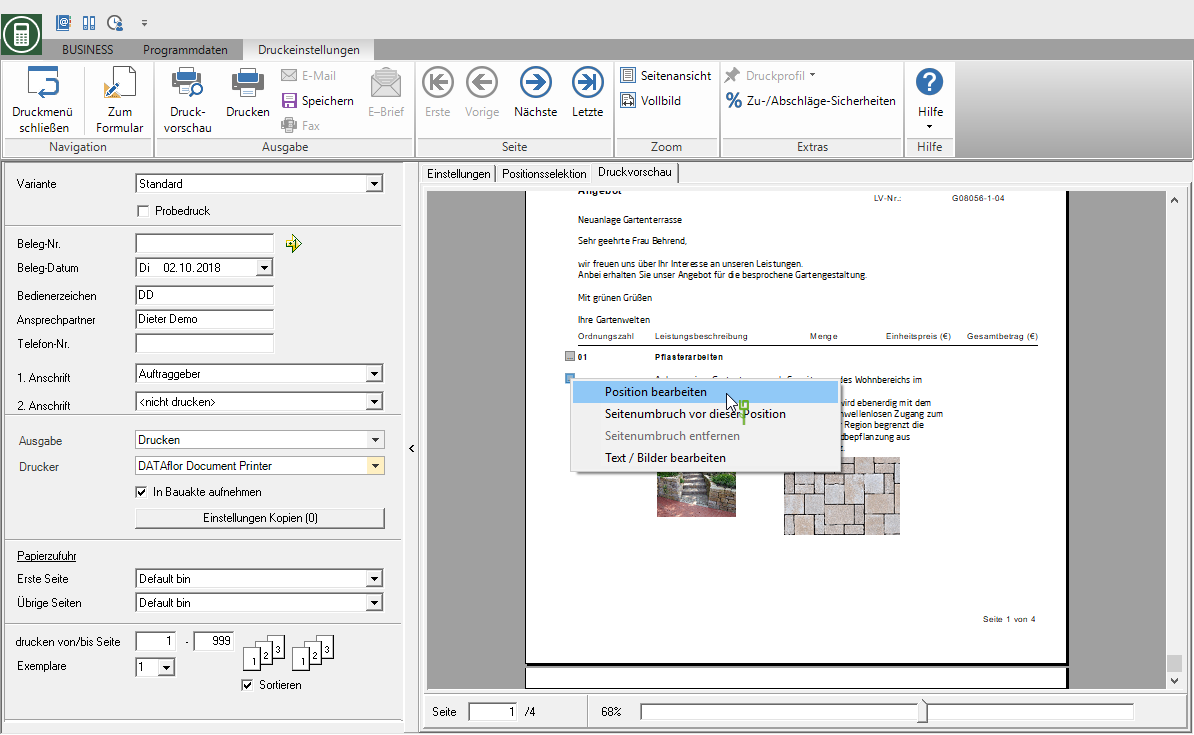
switch to position editing
If you notice an error in the costing of the item while viewing the print preview, you can switch from the print preview directly to item processing for this item.
Click in the print preview ![]() in front of the item whose calculation you want to correct. Select the entry Edit position.
in front of the item whose calculation you want to correct. Select the entry Edit position.
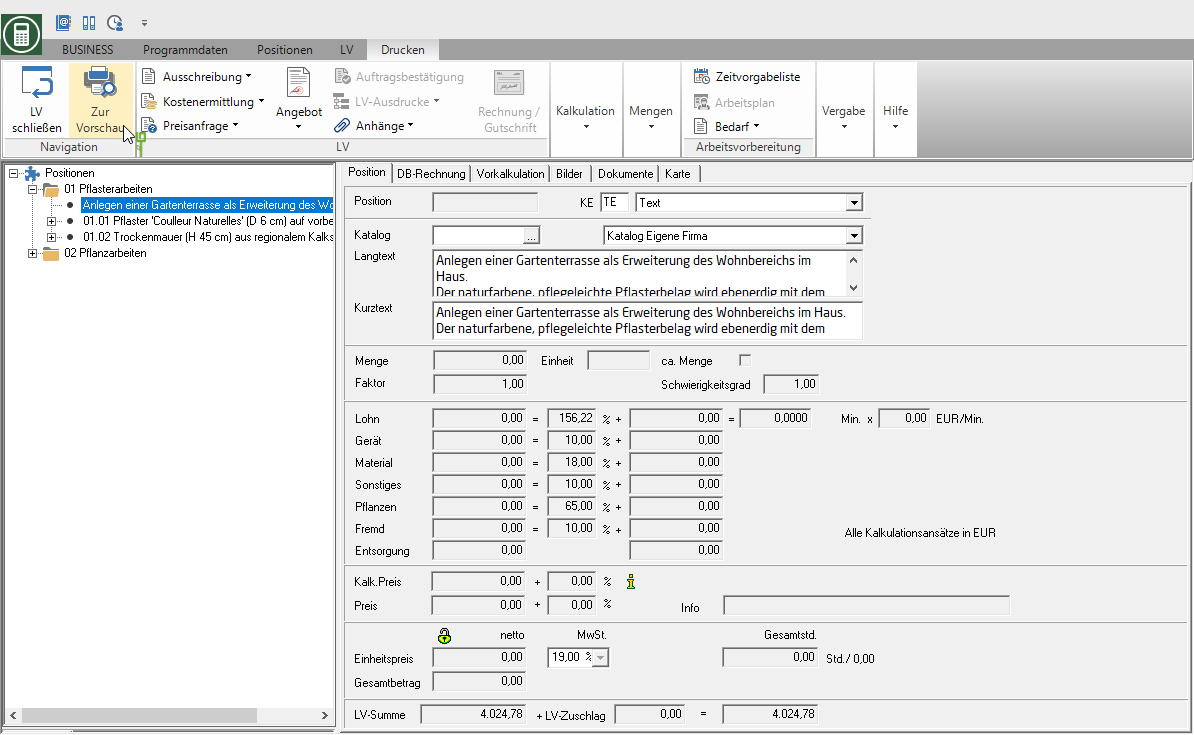
The editing mask for the selected position opens. Make your changes, click to save ![]() in the menu positions and click on
in the menu positions and click on ![]() .
.
The print preview is opened with the settings, position selection and page selection made previously.

