Table of Contents
Edit IDs
Description
Identifiers can help you to call up various information about suppliers or customers as quickly as possible and individually. This function can be used to create new IDs invest, existing Bearbeiten and identifiers categories zuordnen.
Application
If you have a large number of IDs, it makes sense to divide them into categories, e.g. IDs for reference customers, mailings, etc.
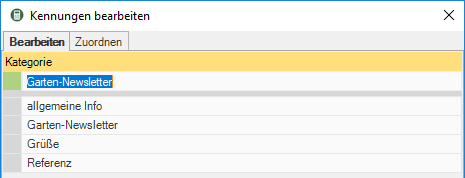
Create categories
- Click in the dialog Edit IDs up in the area Map categories to the right of
 in the input field.
 - Enter the name for the new category.
- as soon as you [enter] press your category is accepted.
- Click on [OK] the change is saved and the dialog is closed.

The names of the categories can also be adjusted later.
Create IDs
- Click in the dialog Edit IDs down in the area Kennung to the right of in the input field.
- Enter the name for the new ID.
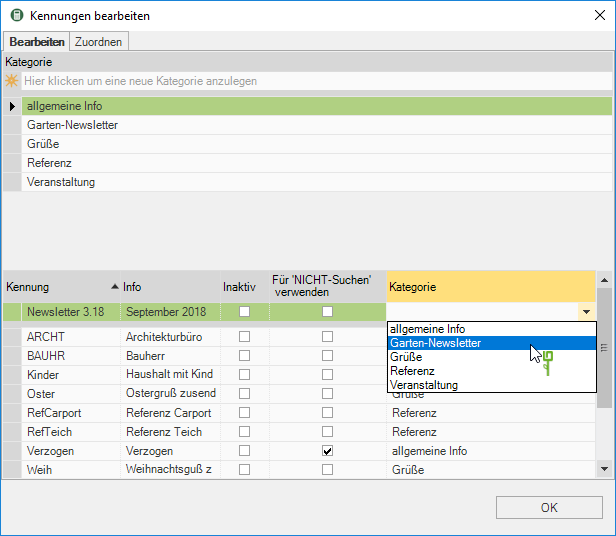
- In the column Info enter a brief explanation of the identifier.
- In the following column you can choose whether the identifier is for New installation an address or a contact should be displayed. If you enable this
 , the ID is no longer displayed for selection when new entries are created in the address manager.
 - With the column Use for 'NOT searching', you can specify that this identifier is used for 'NOT searching' in the Expert search should be available.
- Assign one to the ID as required Category under which it should be displayed.
- Press [enter] and your ID will be adopted.
- By highlighting a line and pressing the key [Del] an unassigned identifier can be deleted.
- Click on [OK] the change is saved and the dialog is closed.

The IDs can also be adjusted later.
Assign identifiers
On the tab Assign you can use existing identifiers in all addresses remove, through another replace or another hinzufügen.
- Click in the dialog Edit IDs on the tab Assign.
- Select the existing ID that you want to edit from the selection list.
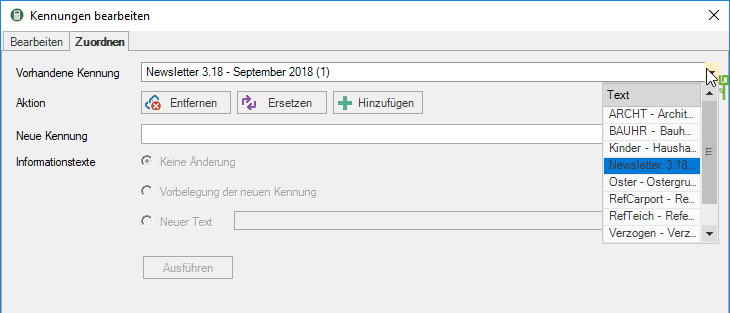
- At the end of the line you will see (in brackets) how many addresses the ID is assigned to.
- Select the action you want.
- as soon as you [To run] your change will be applied.
- Click on [OK] the change is saved and the dialog is closed.
