Table of Contents
Pressure profiles
Description
In the print profiles you can pre-define whether the subsequent output is to be made as a print, by e-mail or as a file, and which ones Pressure variant should be used for this. You can make individual settings for each copy.
You can create multiple print profiles and then use them Forms assign to the respective form group.
The settings stored in the assigned print profile are pre-assigned when printing and can then be changed individually.
Print profiles are only available for printing out the form groups (Fast).
Application
Open in Form manager the desired Fast form group.
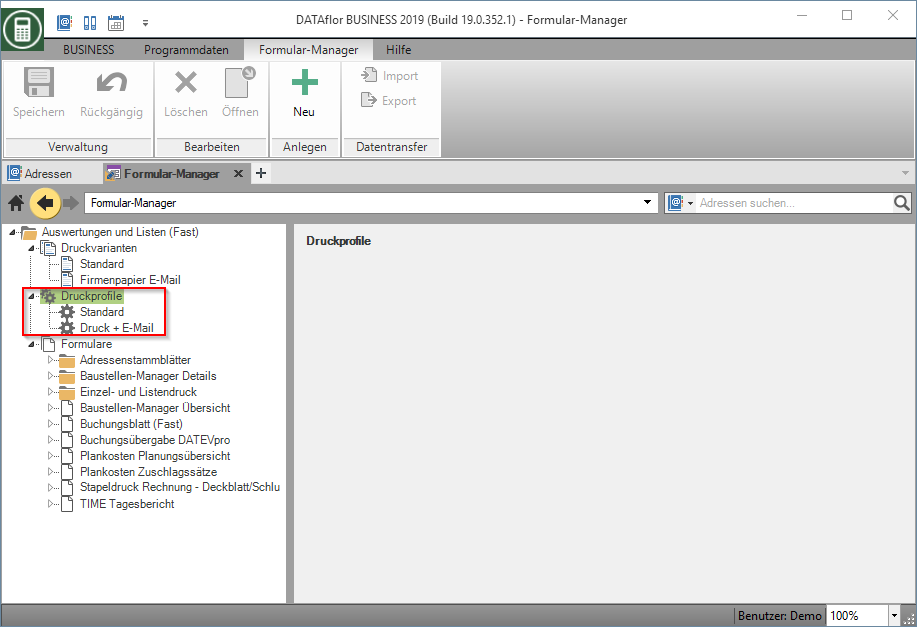
In the directory tree you will find the Print variants the pressure profiles. The pressure profile is preset Standard. This can neither be edited nor deleted.
Create pressure profile
Select an available pressure profile in the directory tree and click on in the menu ![]() .
.
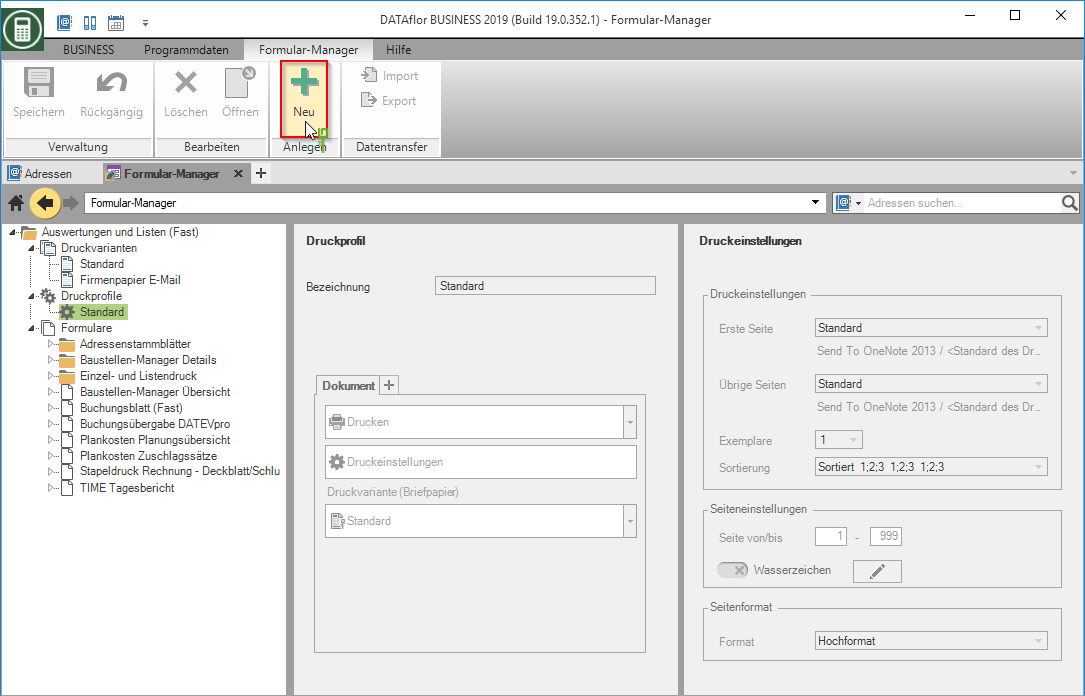
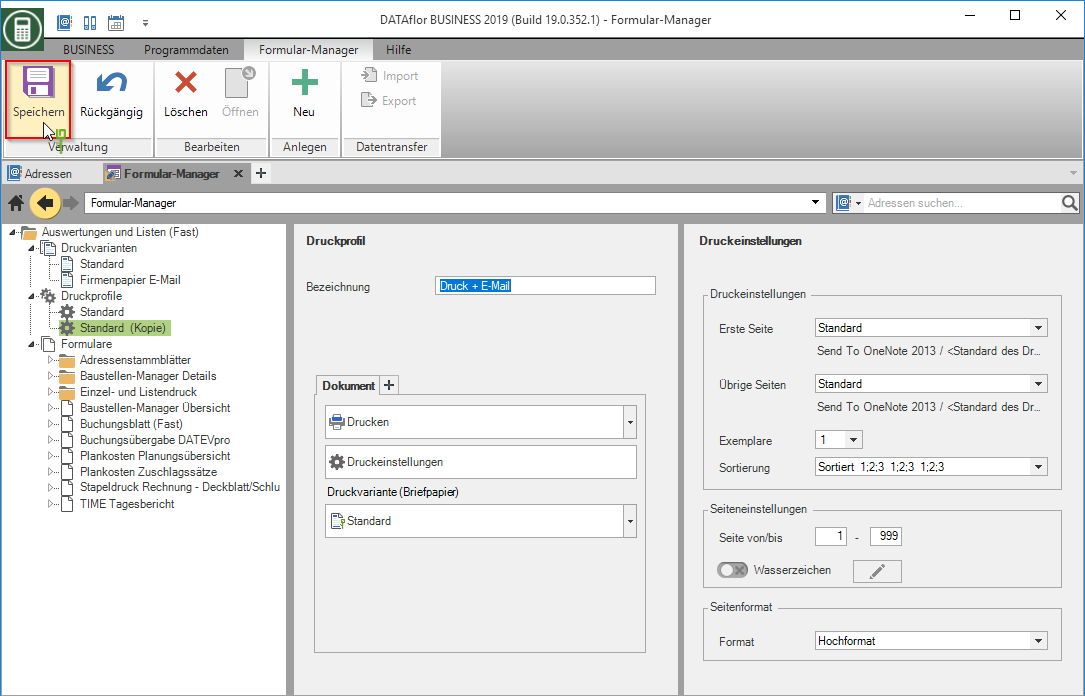
A copy of the print profile is created in the directory tree under the print profiles. Assign a unique name to the new print profile. Save your entry by clicking in the menu ![]() . click
. click
Edit pressure profile
Make the following settings:
Pressure profile
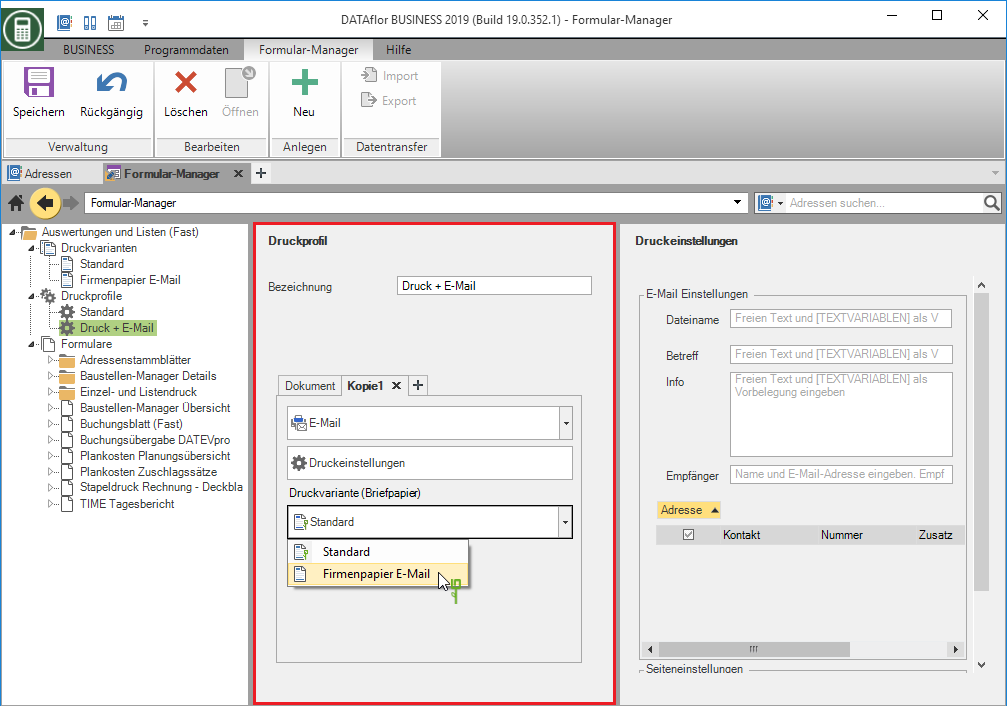
Issue type
You can click ![]() select whether the output should be made as a print, via e-mail or as a file.
select whether the output should be made as a print, via e-mail or as a file.
Print settings
Click on ![]() show or hide the print settings.
show or hide the print settings.
Pressure variant
Select by clicking on ![]() the desired Pressure variant .
the desired Pressure variant .
copies
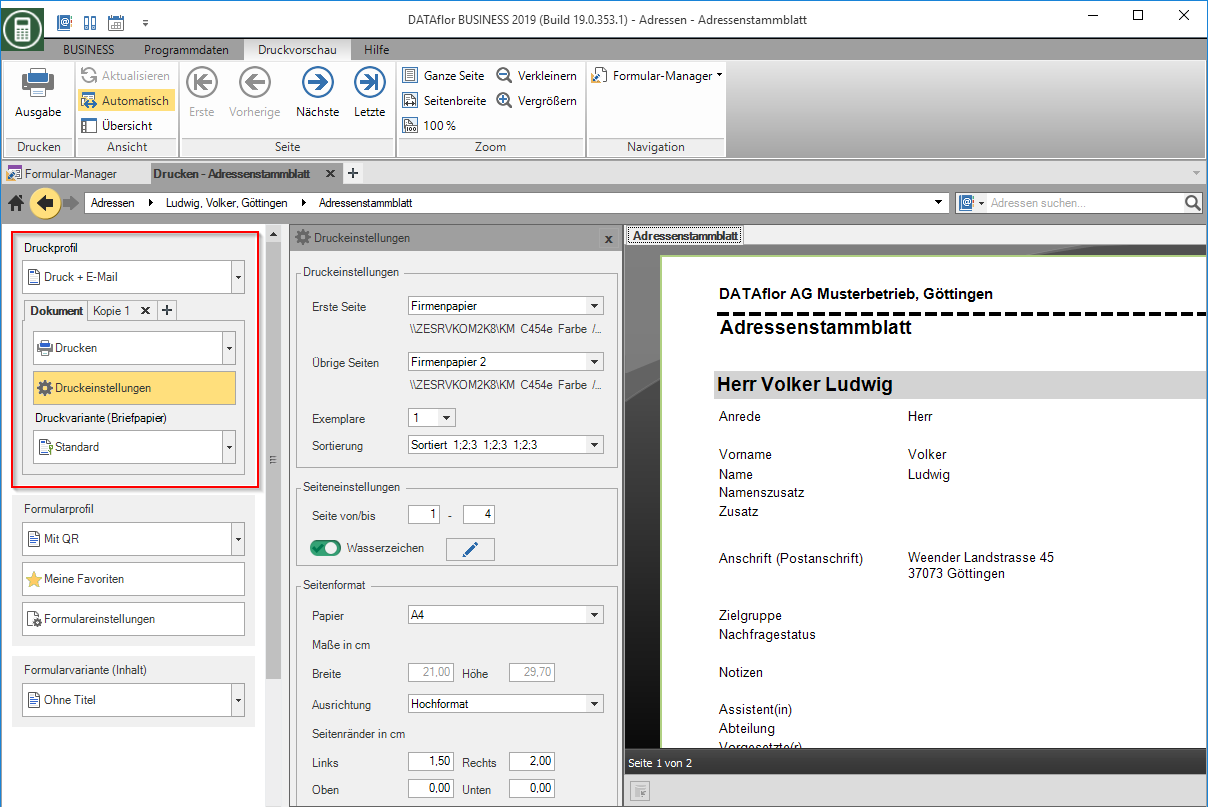
Click on ![]() you can set the output of multiple copies. You can individually select the output type, print settings and print variant for each copy.
you can set the output of multiple copies. You can individually select the output type, print settings and print variant for each copy.
Print settings
Depending on whether the output type Print, E-Mail or File was selected for the document or copy, different settings are available under Print Settings.
Print settings
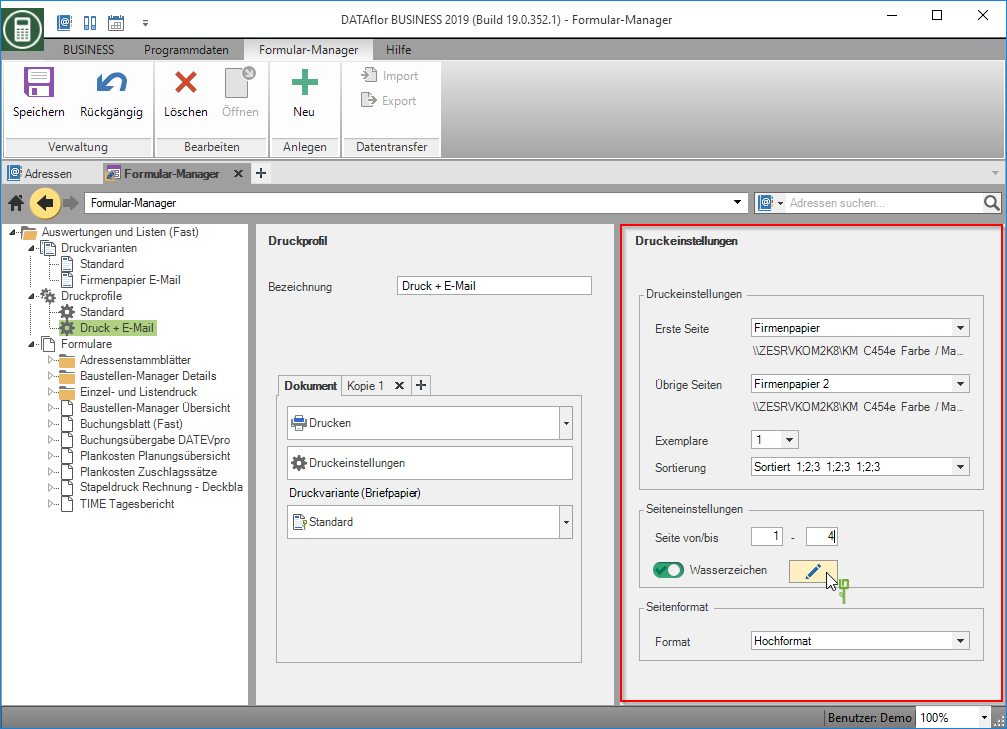
First page / Remaining pages
Choose the one you want Printer and slot assignment that you can find on the home page of the Form manager have created. If you want the first page to be printed on a different paper than the other pages, you can select different printer and tray assignments.
Copies
Several copies can be printed out at the same time. Select the number of copies.
Min and
Select the order in which the pages of multi-page prints come out when multiple copies are printed at the same time.
settings page
Determine which pages are output.
Watermark
Click on ![]() you can store and edit a watermark for your expenses.
you can store and edit a watermark for your expenses.
Page format
Choose under Page format between portrait and landscape format.
Email settings
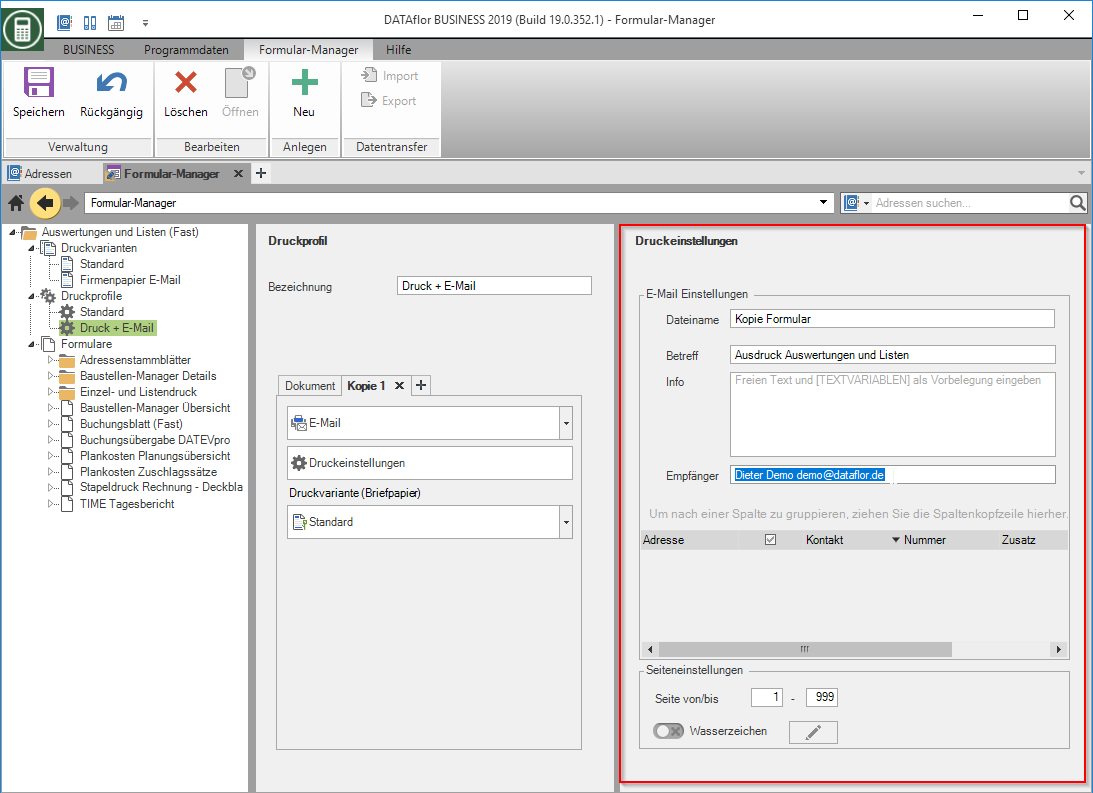
Filename
Enter the name that should be given to the file attachment.
Subject
Your details under Subject will appear later in the subject of the email.
Info
Enter the text of the email.
In the fields Filename, Subject and Info You can Text variables use. When output by the program, these are filled with the current values from the database. Tap [ on (Alt Gr + 8), a suggested list of the available text variables is displayed.
Recipients
Enter one or more email addresses as the recipient of the email. Confirm your entries with Enter.
settings page
Determine which pages are output.
Watermark
Click on ![]() you can store and edit a watermark for your expenses.
you can store and edit a watermark for your expenses.
File settings
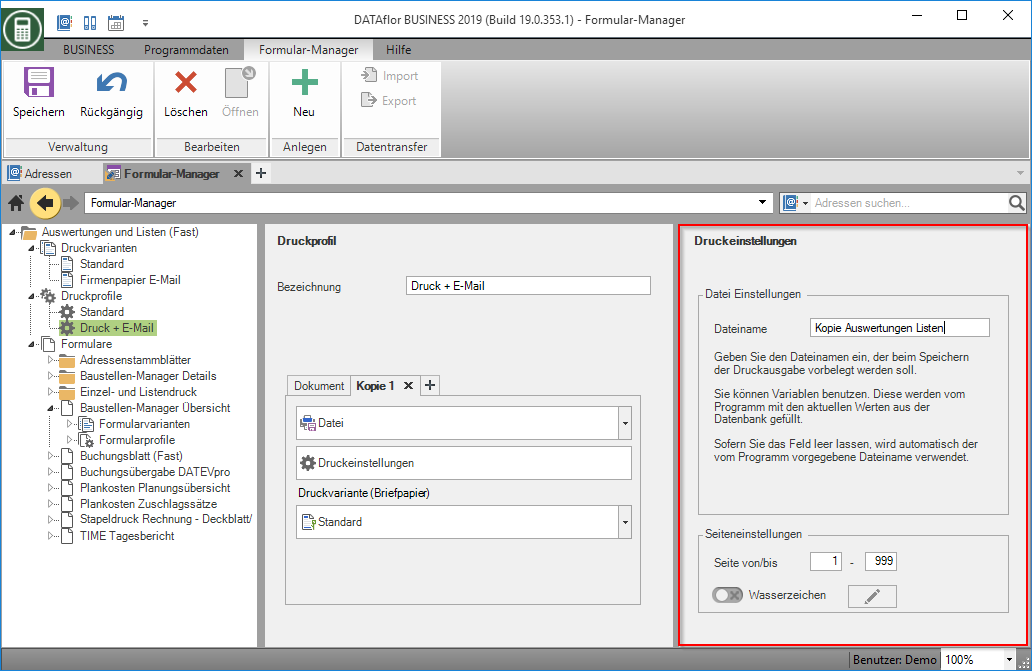
Filename
Enter the name with which the file will be saved.
You can for this field Text variables use. When output by the program, these are filled with the current values from the database. Tap [ on (Alt Gr + 8), a suggested list of the available text variables is displayed.
settings page
Enter which pages should be output.
Watermark
Click on ![]() you can store and edit a watermark for your expenses.
you can store and edit a watermark for your expenses.
Assign pressure profile
Open the entry in the directory tree Forms.
Select the form you want. On the right side you can now use this form Pressure profile either for the whole company or only for the current user by clicking on ![]() assign a print profile.
assign a print profile.
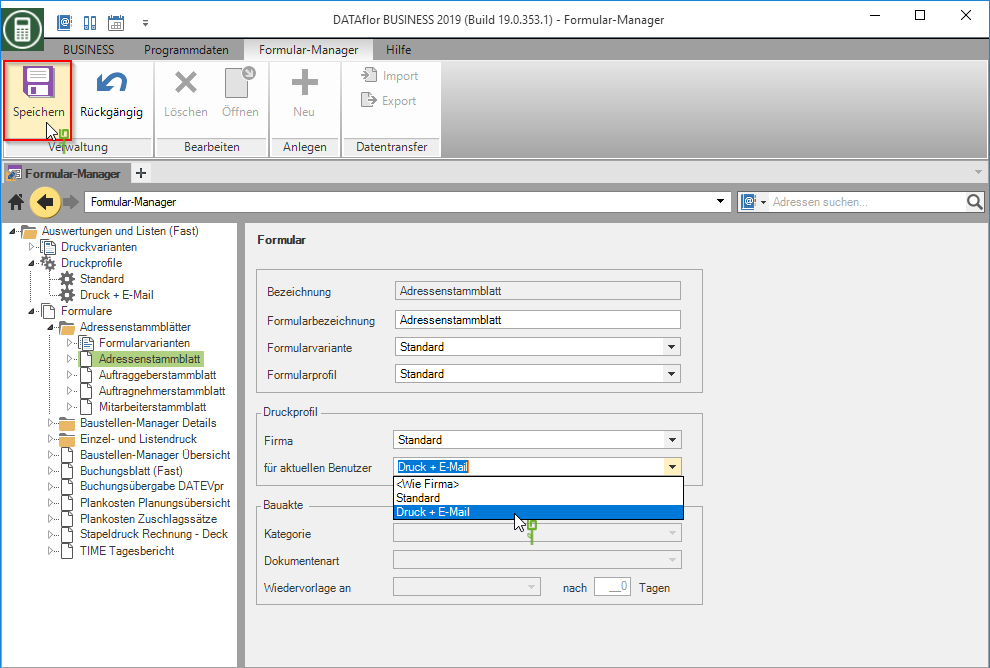
When the corresponding form is output, the assigned print profile is now preset with the respective print settings.
Delete print profile
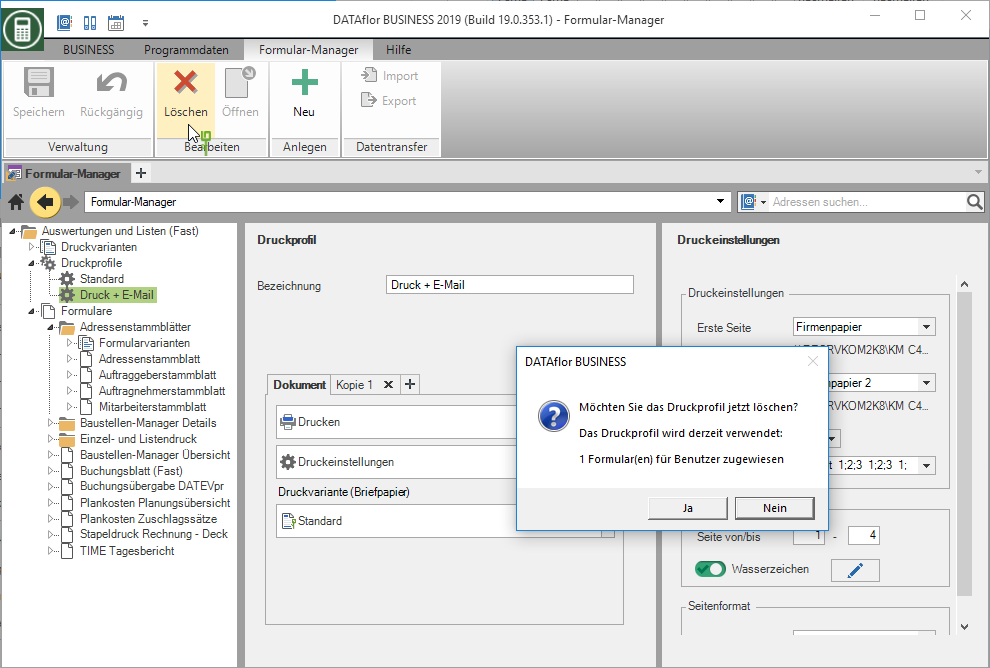
To delete a pressure profile, select it in the directory tree and click on in the menu ![]() .
.
A dialog opens that indicates whether this pressure profile is currently in use. Confirm by clicking on Ja.
The forms in which this print profile was used are then automatically restored to the Standard assigned.
